| START HERE |
|
| Register | FAQ | PM | Events | Groups | Blogs | Calendar | Mark Forums Read |
|
|
|
Unregistered
|
||||||


| MA Glow Miniature Aircraft Glow Helicopter Support Forum |
|
|
 |
|
|
LinkBack | Thread Tools | Display Modes |
 01-11-2011, 06:33 PM
|
#1 (permalink) |
|
Join Date: Sep 2008
|
 Well, It's here. My Fury 55 I picked up earlier today. Over the next few day's I will be building this beautiful machine. With the inclusion of Pictures and my text commentery. I'm really excited and looking forward to working on this machine. There will also be an add on review.. But I shall elaberate further later on. I have taken some pictures.. But I'm currently uploading.. So take this as a small enticement for you to WATCH THIS SPACE. Specs: OS55 Engine B320 Funtech 55 - 56 3D Pipe 3x MKS DS670 Cyclic Servos Mikado V-Bar 5.0 Pro + S9256 Tail Servo IMAGES ARE THUMBNAILED, CLICK ON THEM TO ENLARGE THEM |

|


|
| Sponsored Links | |||
|
Advertisement |
|
||
|
01-11-2011, 06:34 PM
|
#2 (permalink) |
|
Thread Starter

Join Date: Sep 2008
|
So, Let's get this started shall we! Here we have some box shots, as you can see the box is very nicely designed, Showcasing the products features and specs:  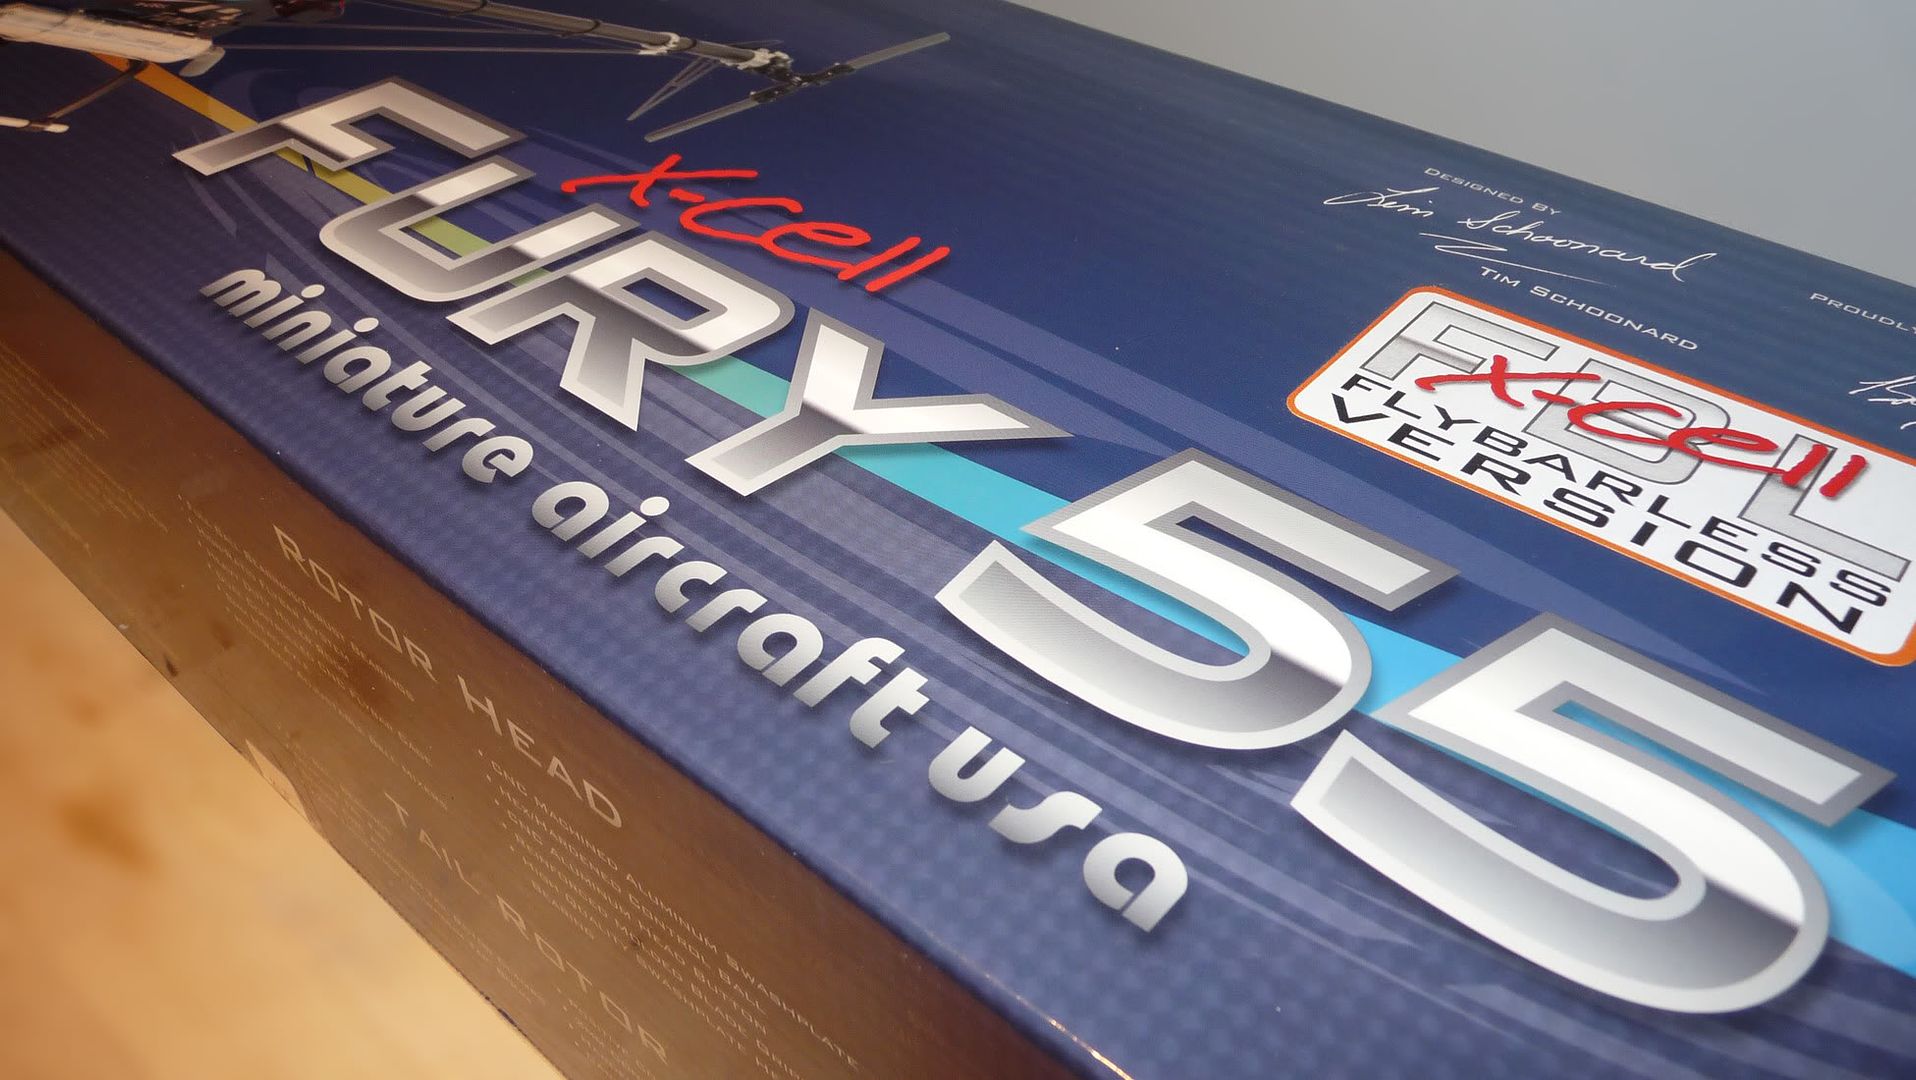 Also, In the top right hand corner we have the signature of the designer and the approval signature of The "One" Bobby Watts. 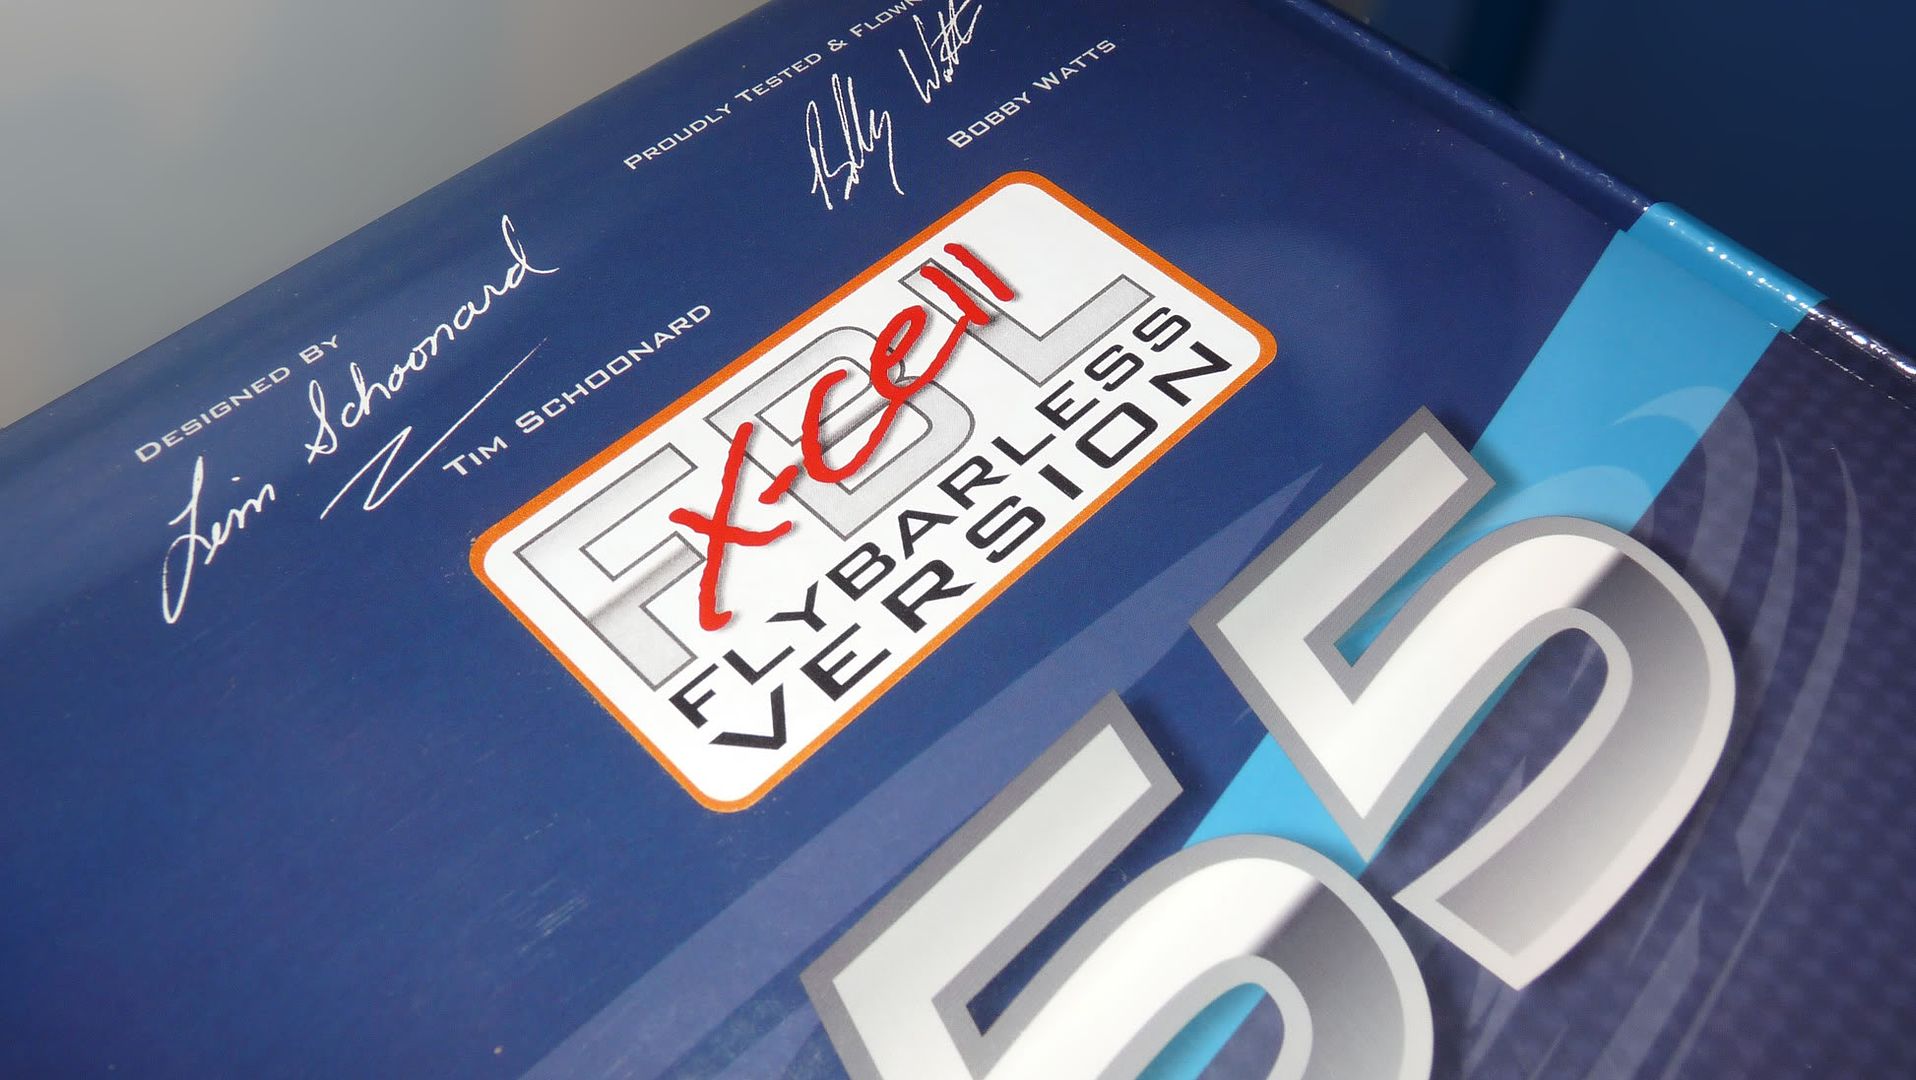 Also you can notice the FBL sticker to denote it's a FBL kit. |
|
|
|
|
01-11-2011, 06:34 PM
|
#3 (permalink) |
|
Thread Starter
Join Date: Sep 2008
|
So with some of the box shots out of the way.. Let's start exploring the insides shall we? Here I've just opened the top of the box. As you can see it's nicely presented and the contents seem to be packed well.  A nice added touch to the kit is the included "Miniature Aircraft" Build Towel, AKA Crying towel 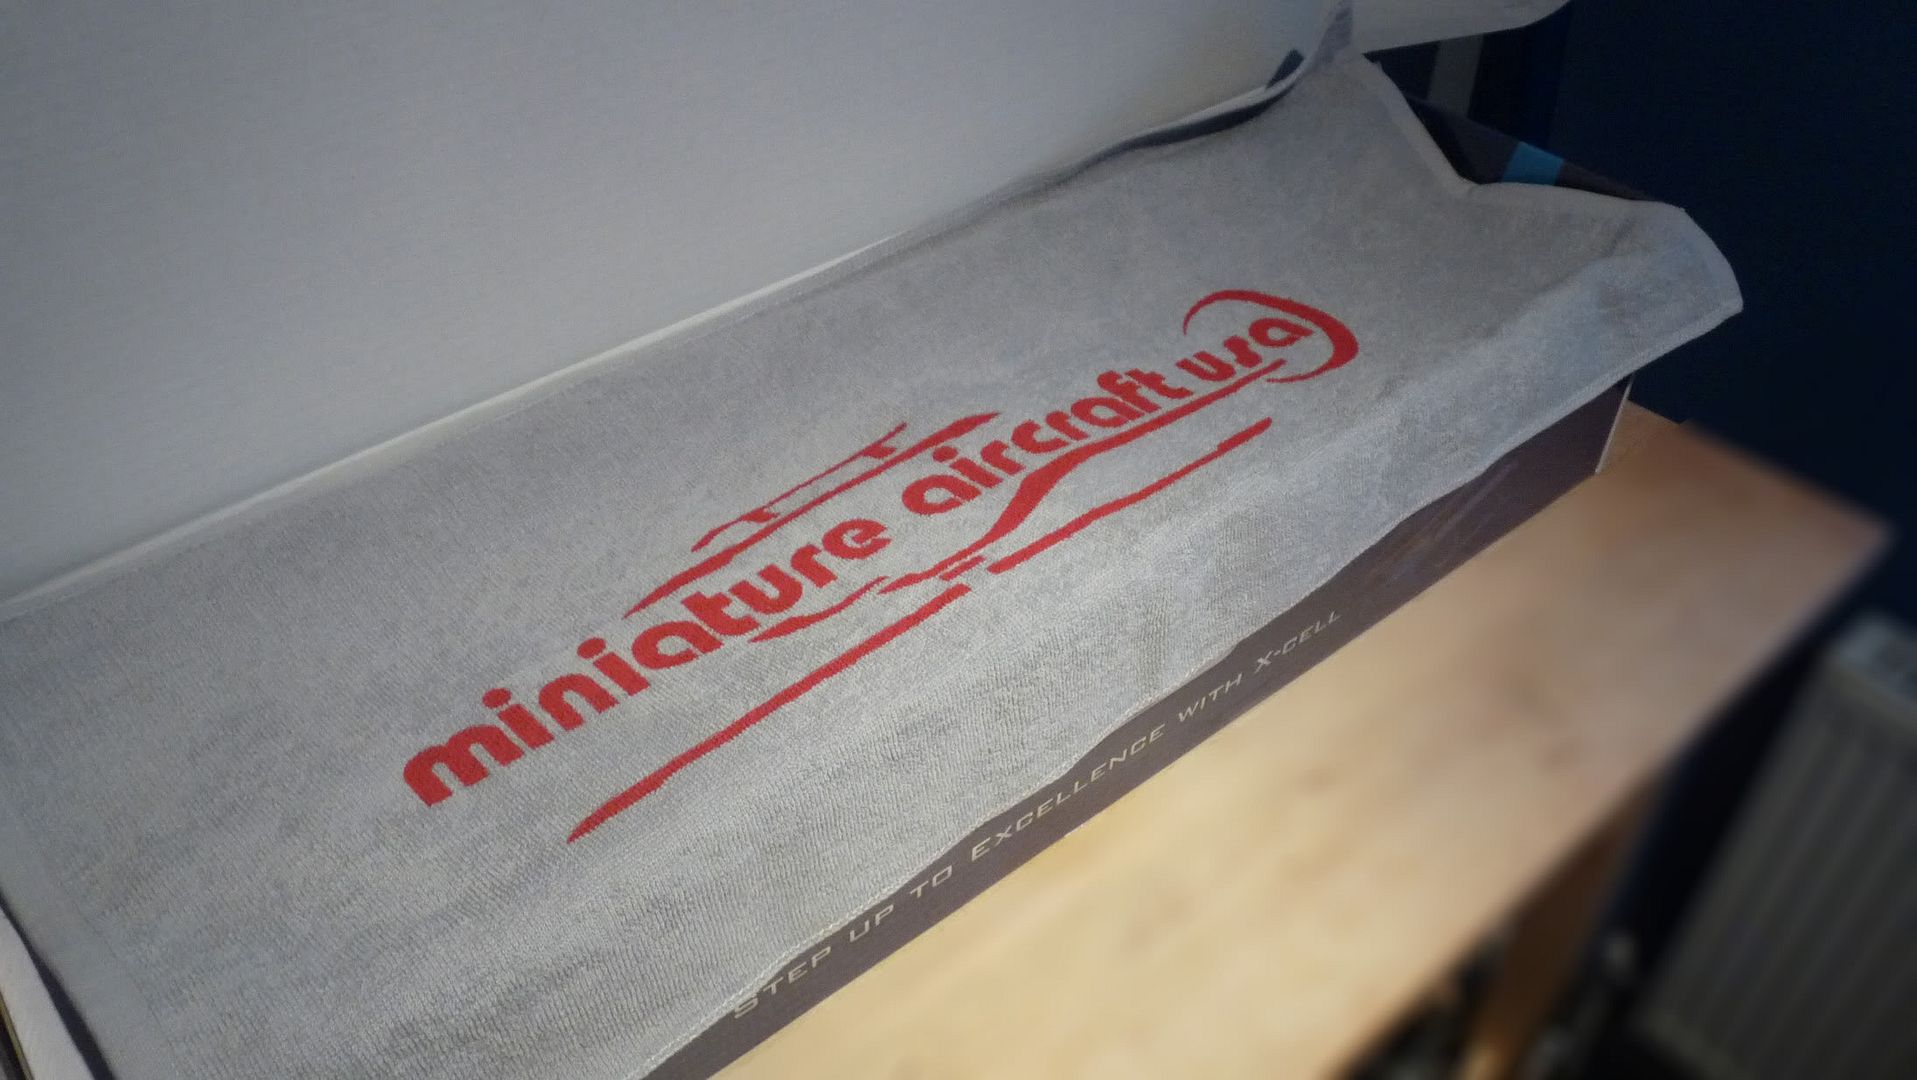 Once the towel has been removed we can reveal the manual, and no doubt under the manual there's more of the hardware bags, 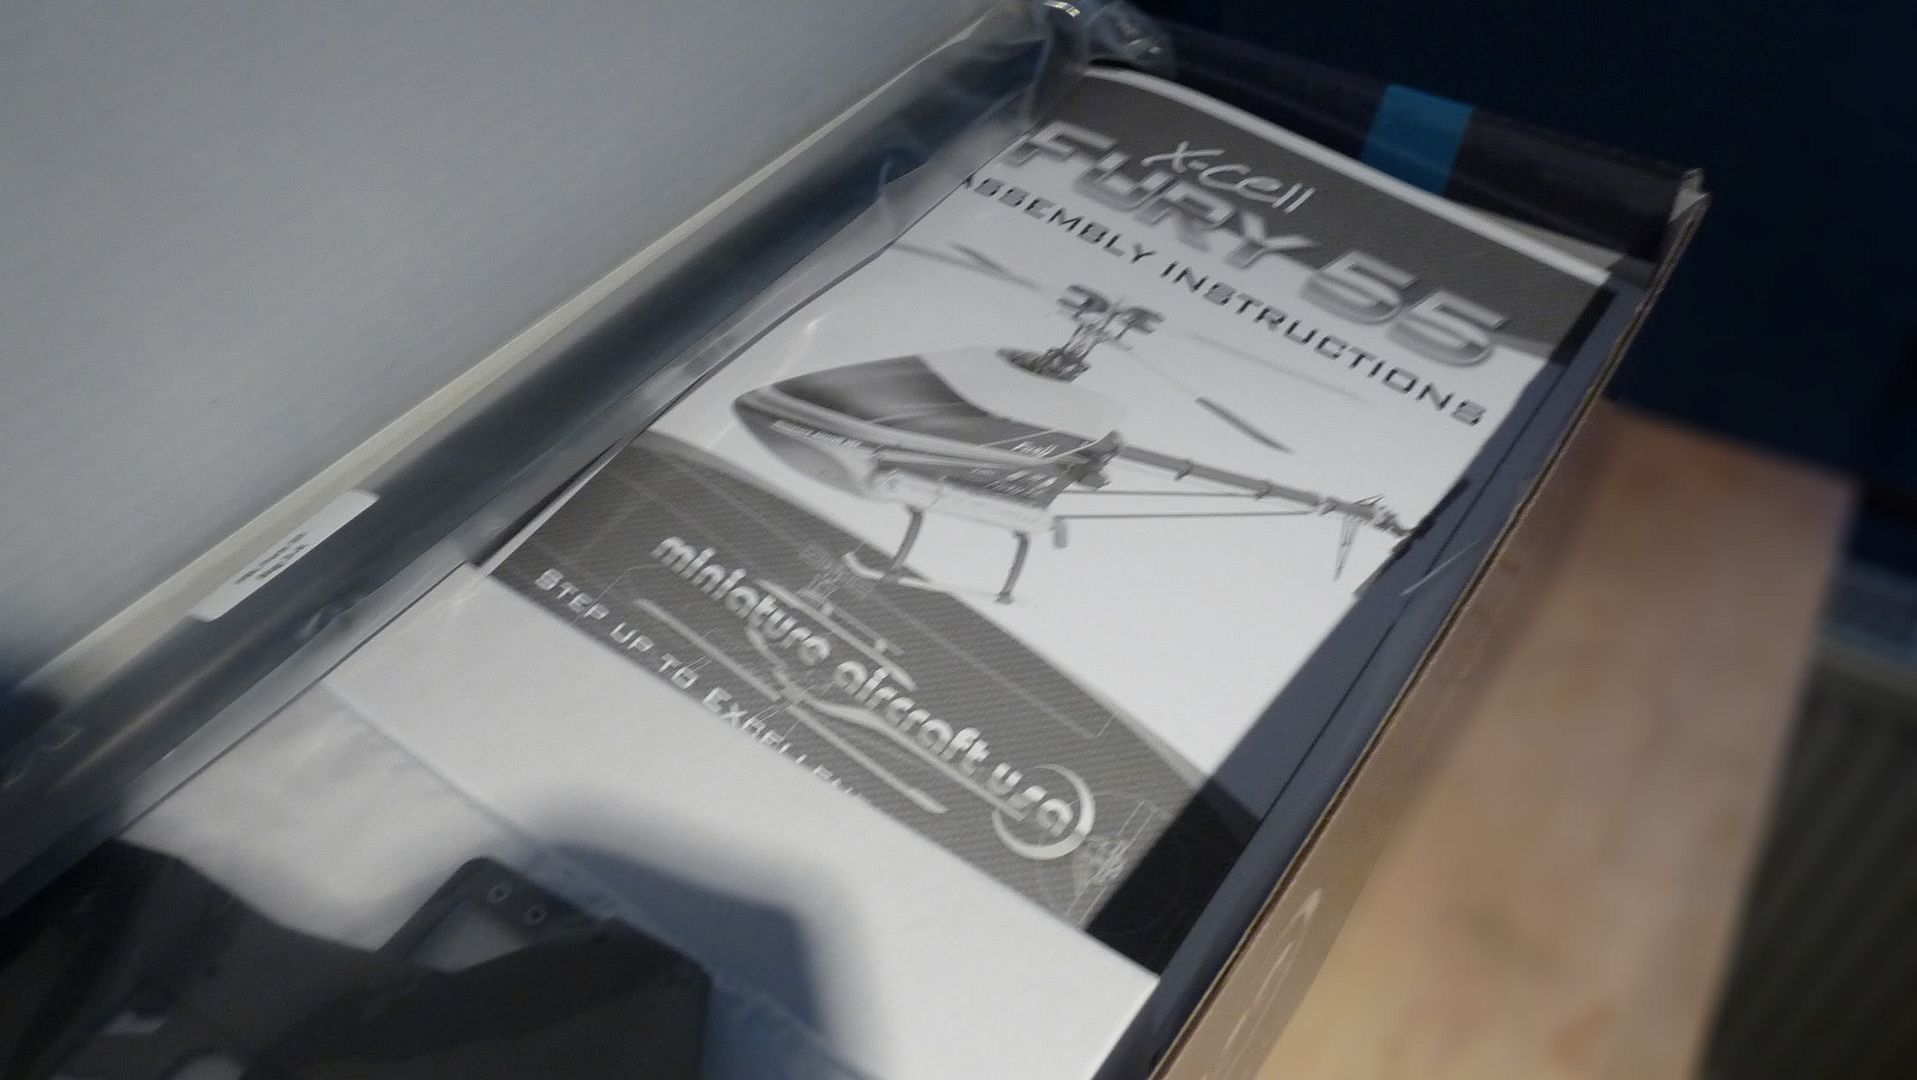 So, Let's move the box out the way, and get onto looking at the indivisual hardware. So, When we opened the box we saw the towel and manual on top, Along with the side frames on top of packaged box:  Here, We can see the boom in it's package, There's some loose bits that rattle around.. But that will be the tail linkage rod. 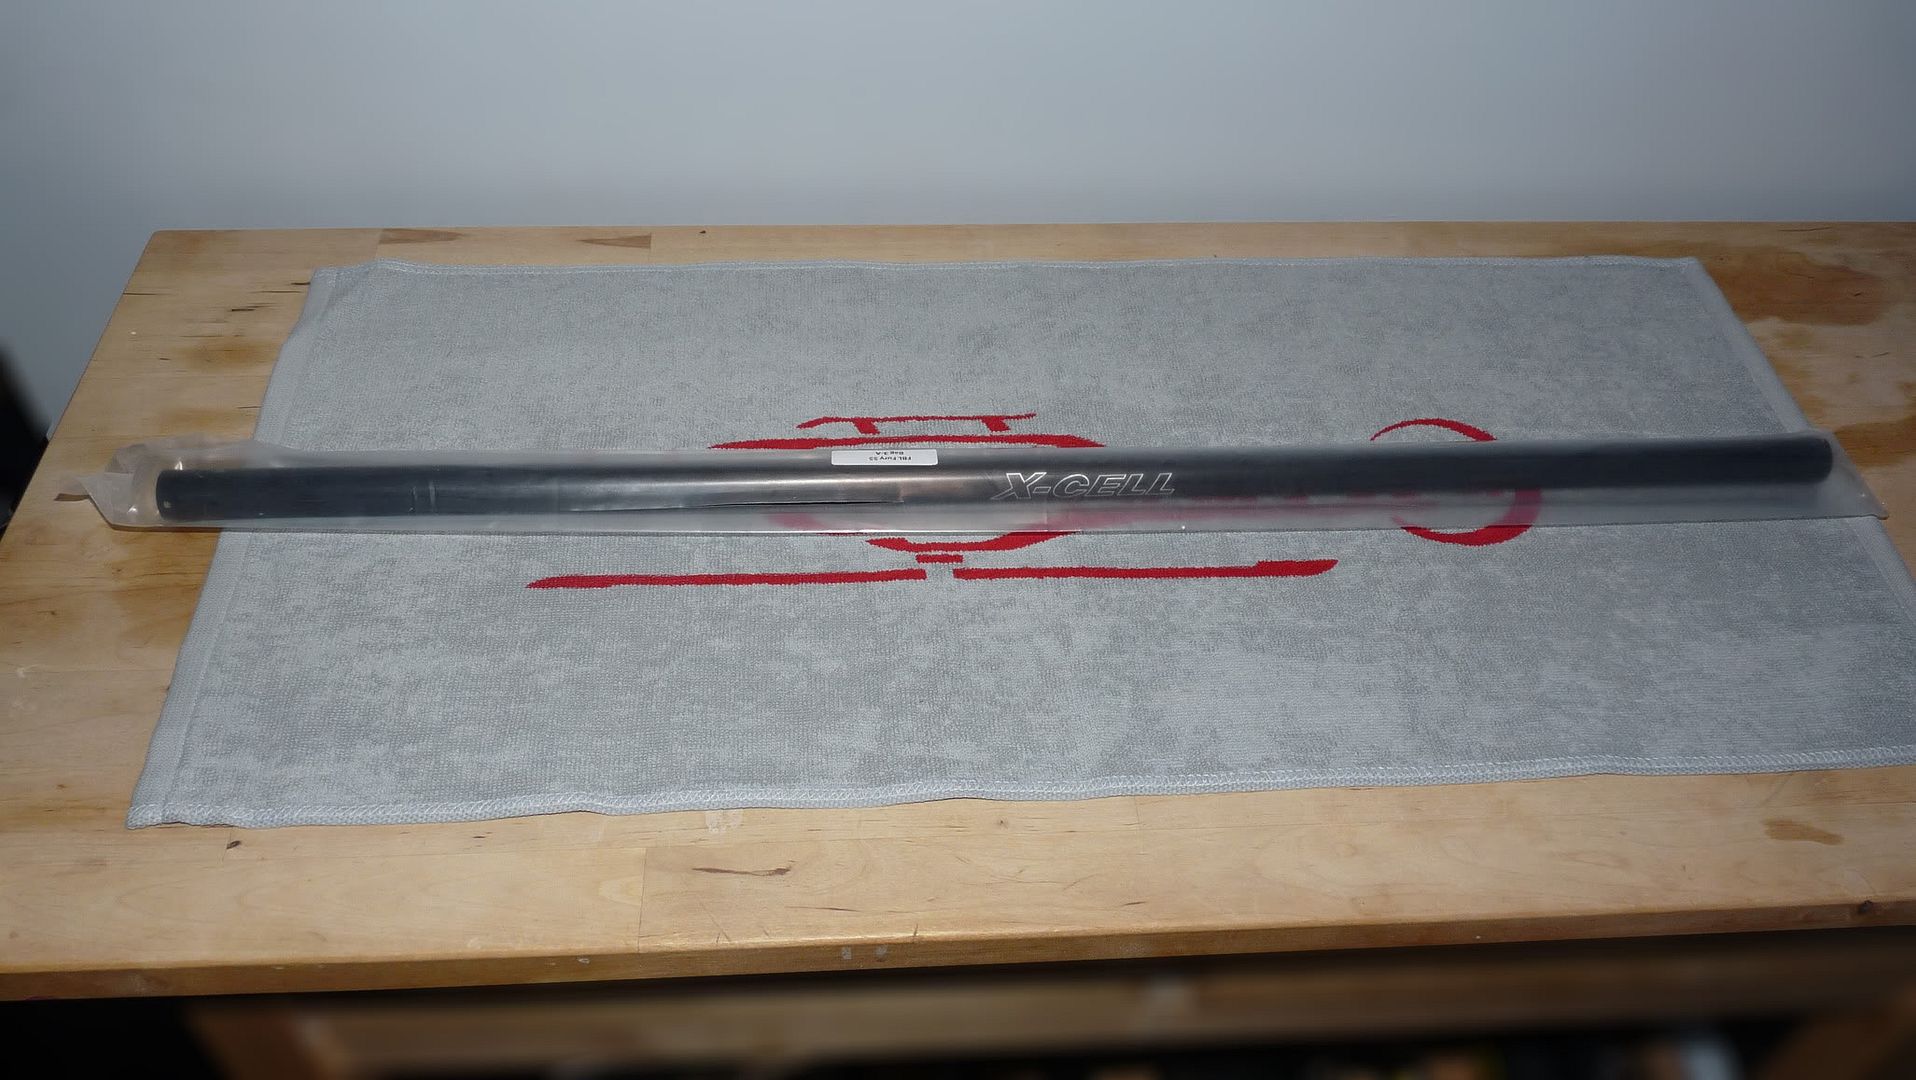 Instead of taking each picture of the hardware bags, I decided to line them up and take a picture here: 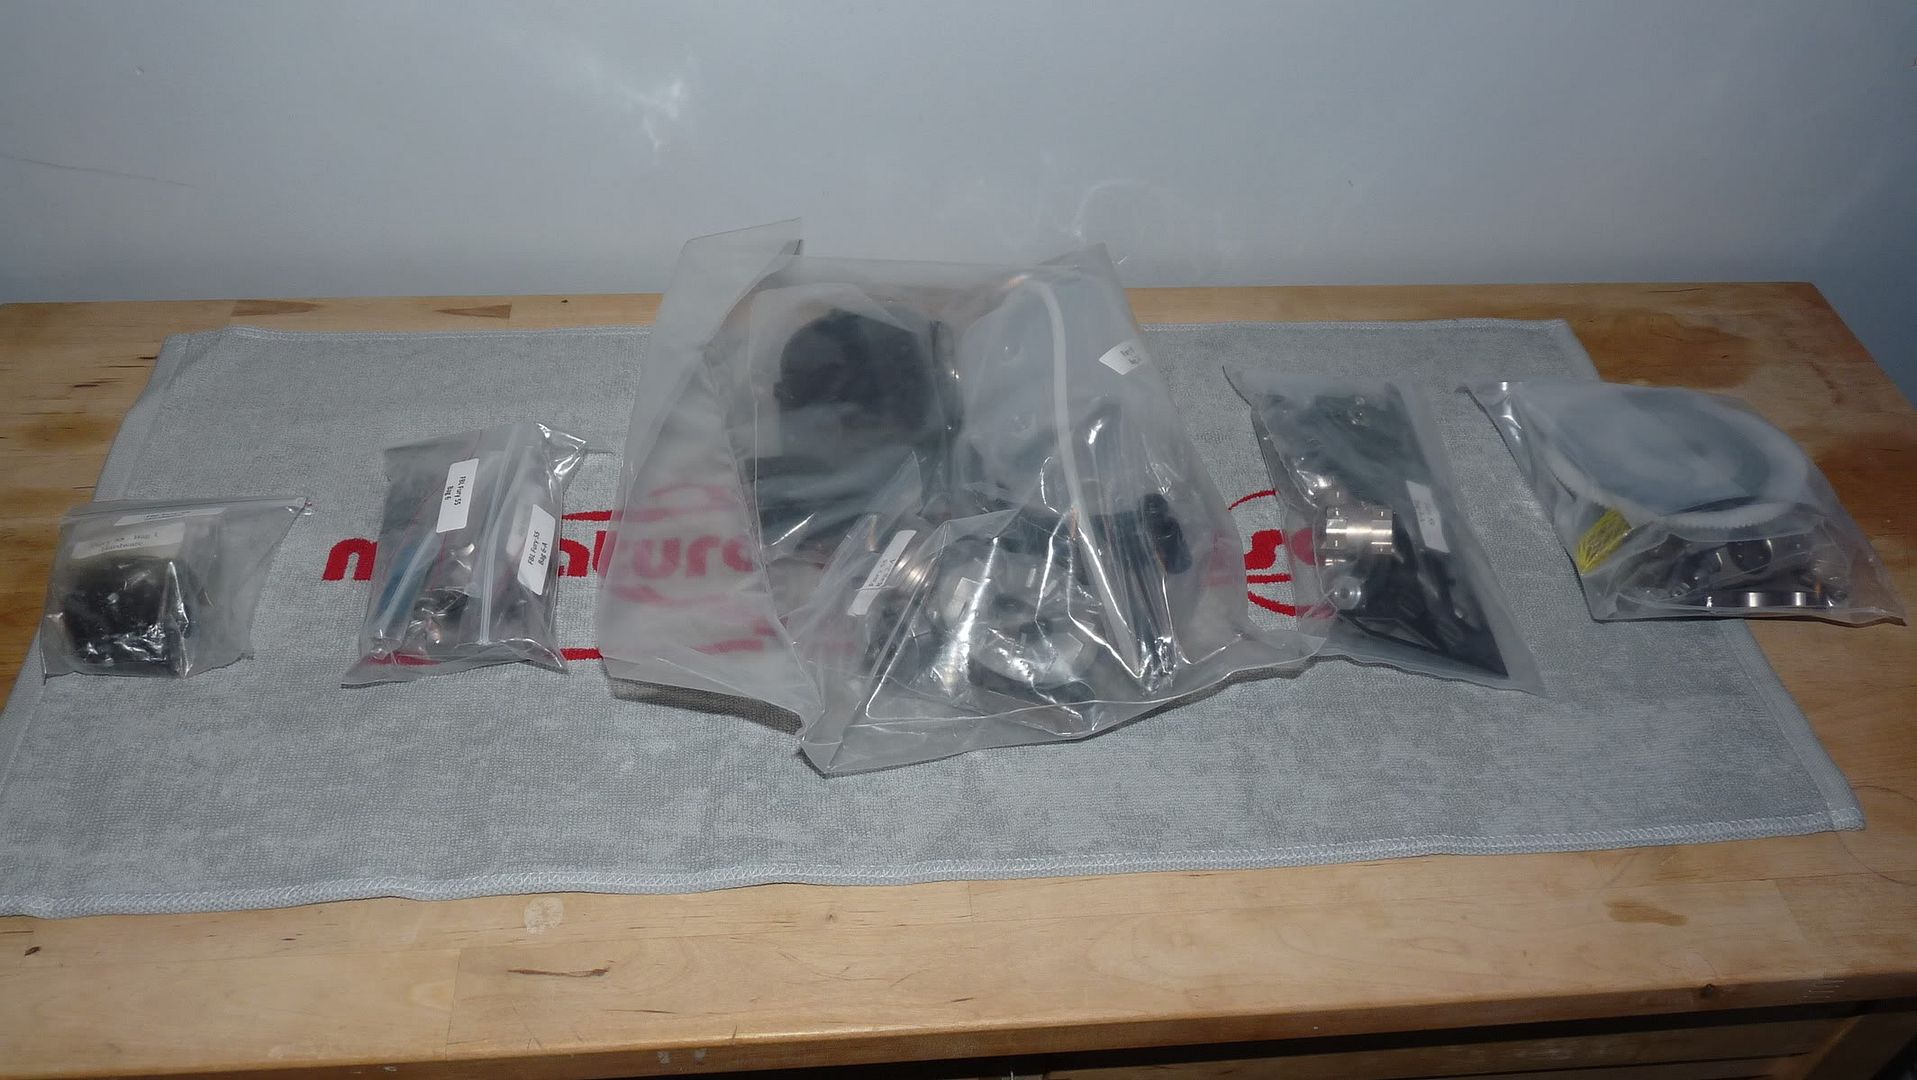 All are labeled accordingly, as you go trough the manual you will need to also open the correct bag. So, That's the core hardware extracted and looked at.. I must say, The quality looks amazing.. just by looking you can tell they have put effort into making a quality machine.. Hmm.. I wonder what is in the box I mentioned above? WATCH THIS SPACE to find out in the next section |
|
|
|
|
01-11-2011, 06:35 PM
|
#4 (permalink) |
|
Thread Starter
Join Date: Sep 2008
|
So, This is the last section of "What's in the box" Let's see whats next! So.. that box? Yes.. This box: 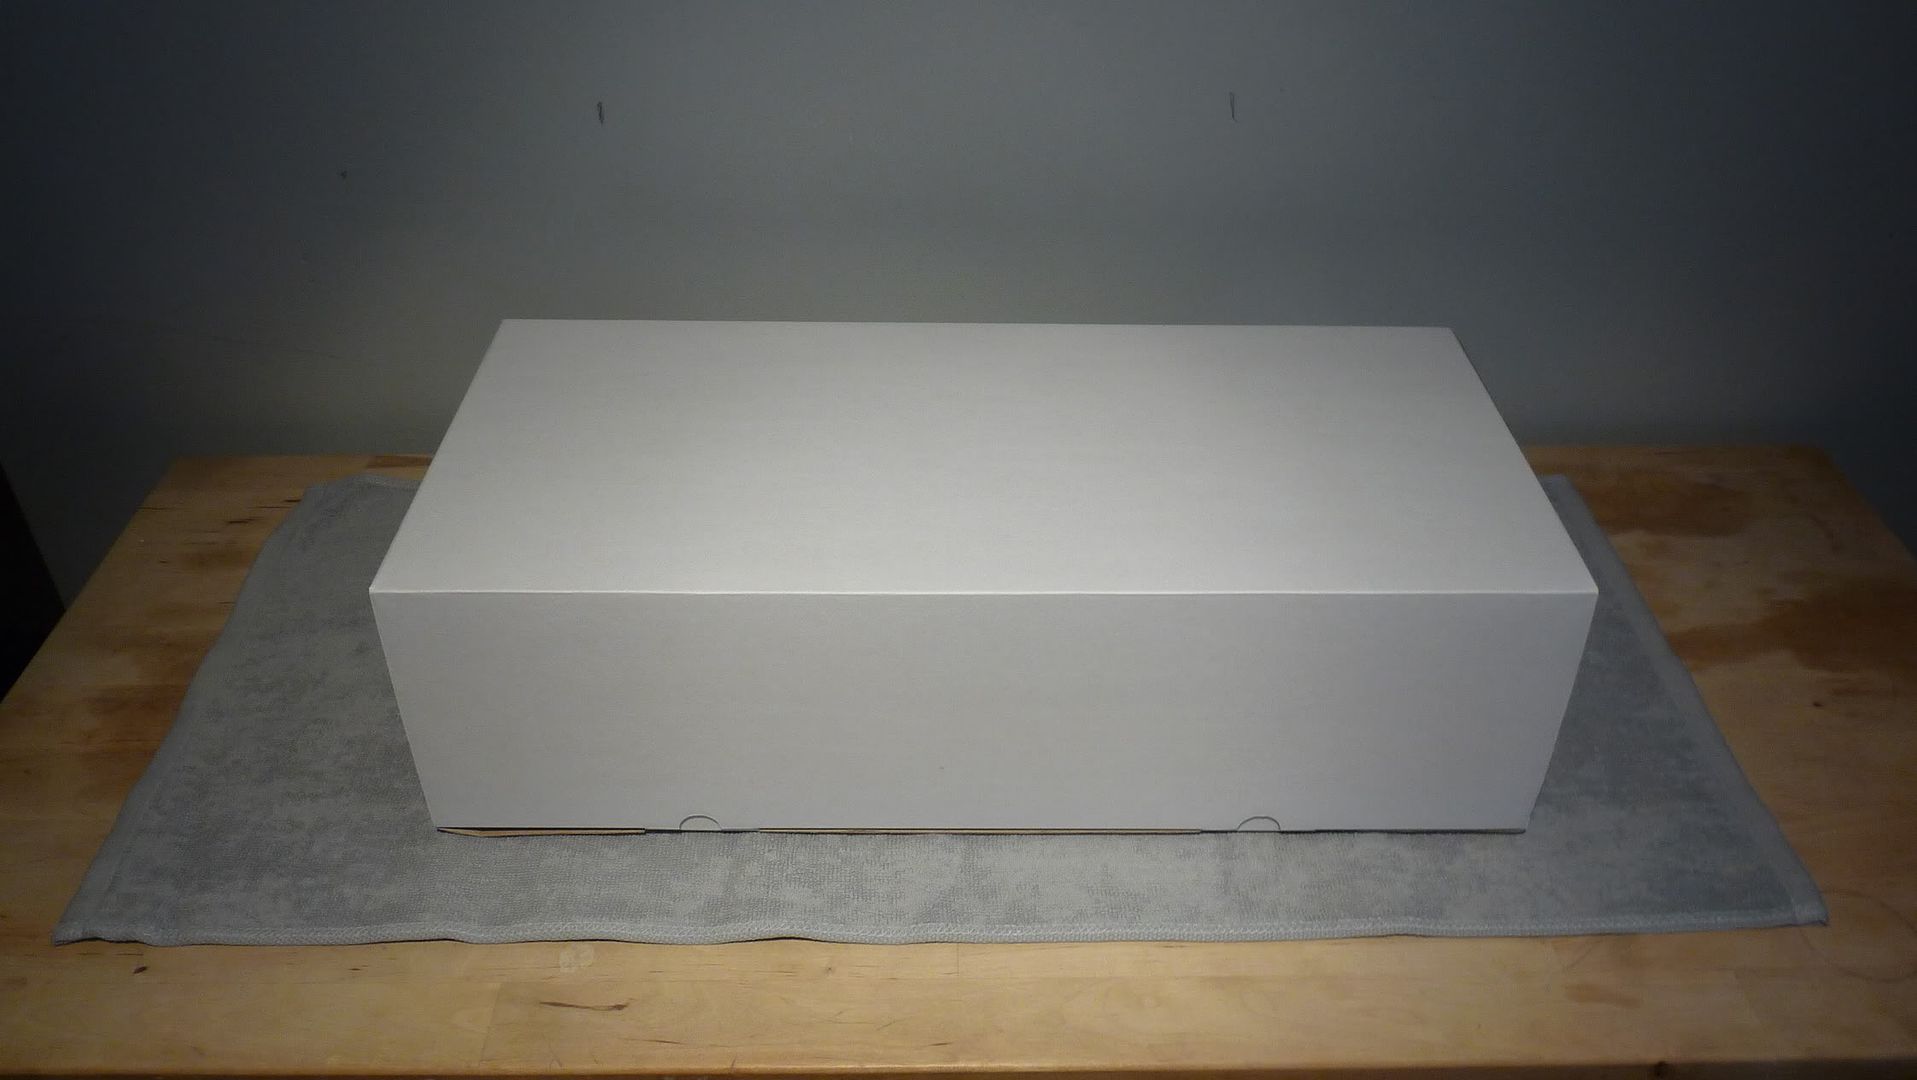 This box was nicely packaged in with the kit, and suprisingly took up over half the box size. Let's getting opening it!... Starting to open the box! 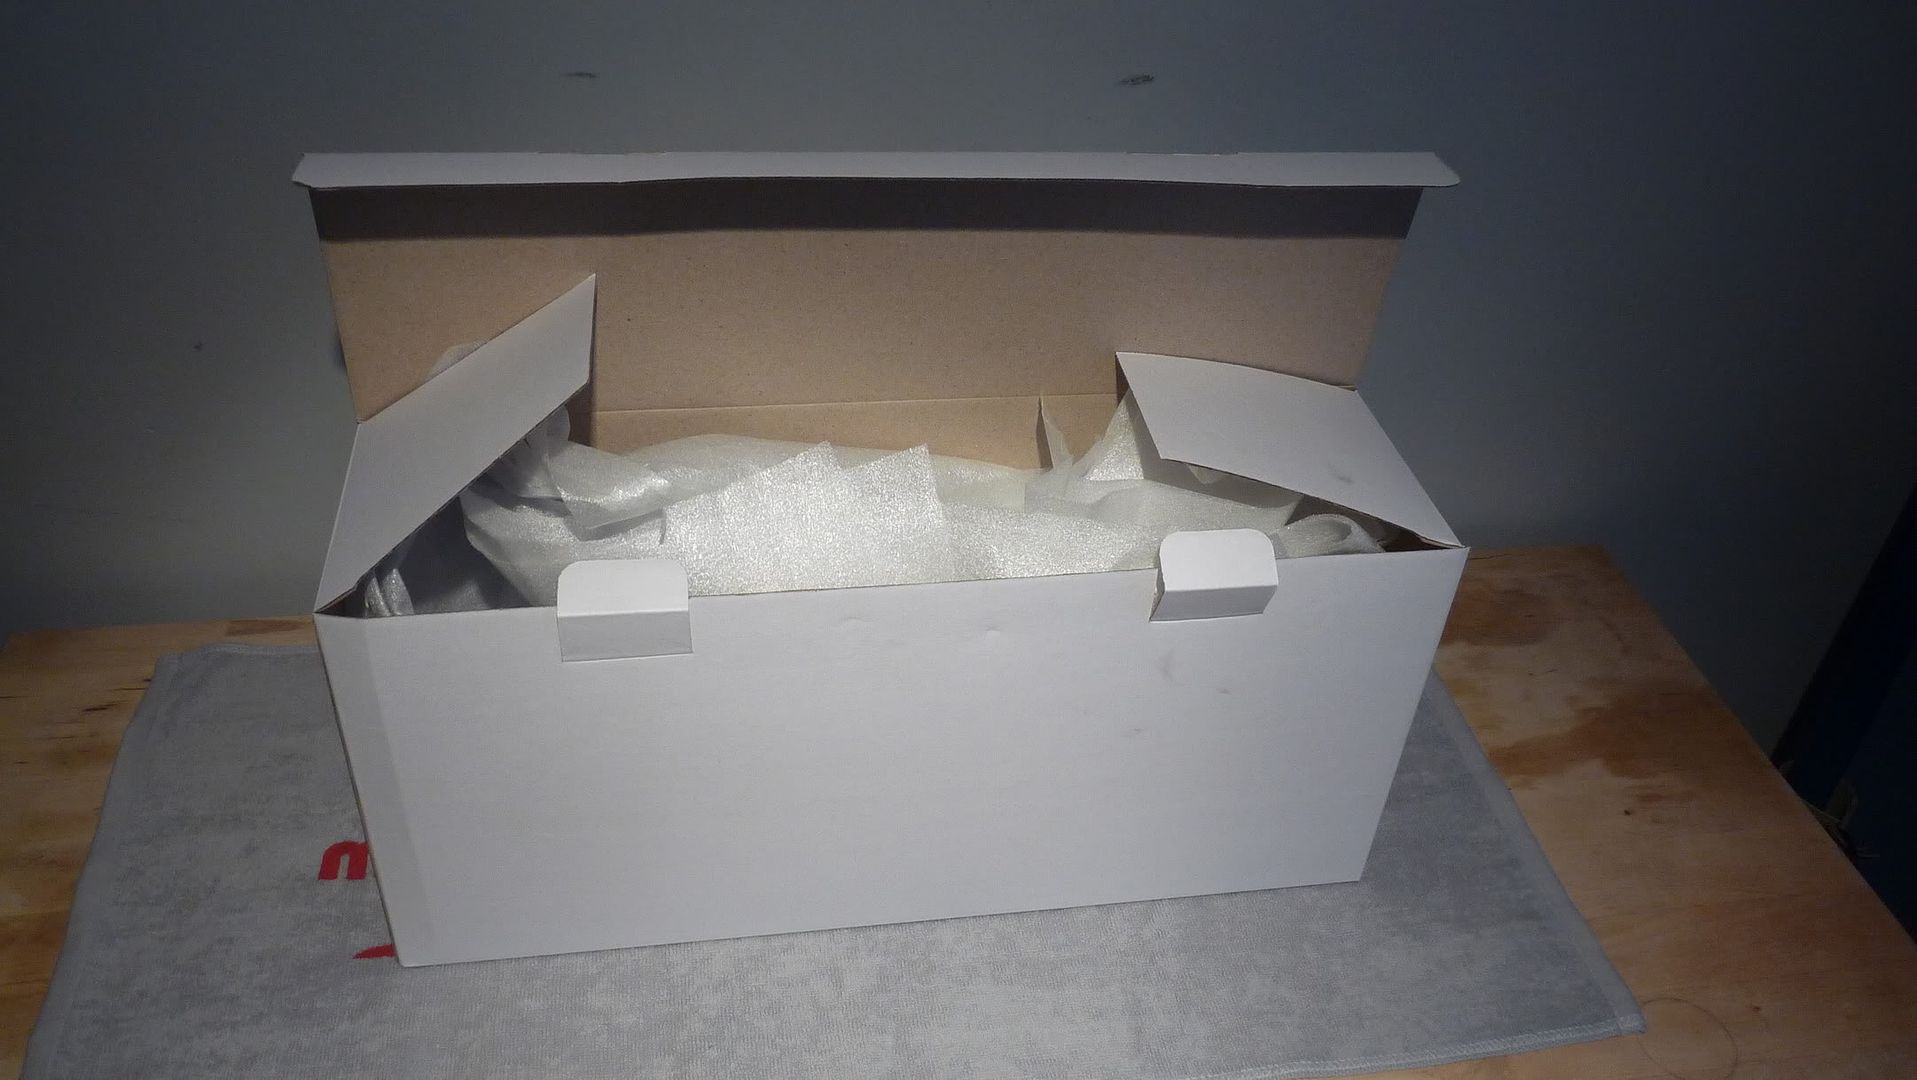 Getting Closer 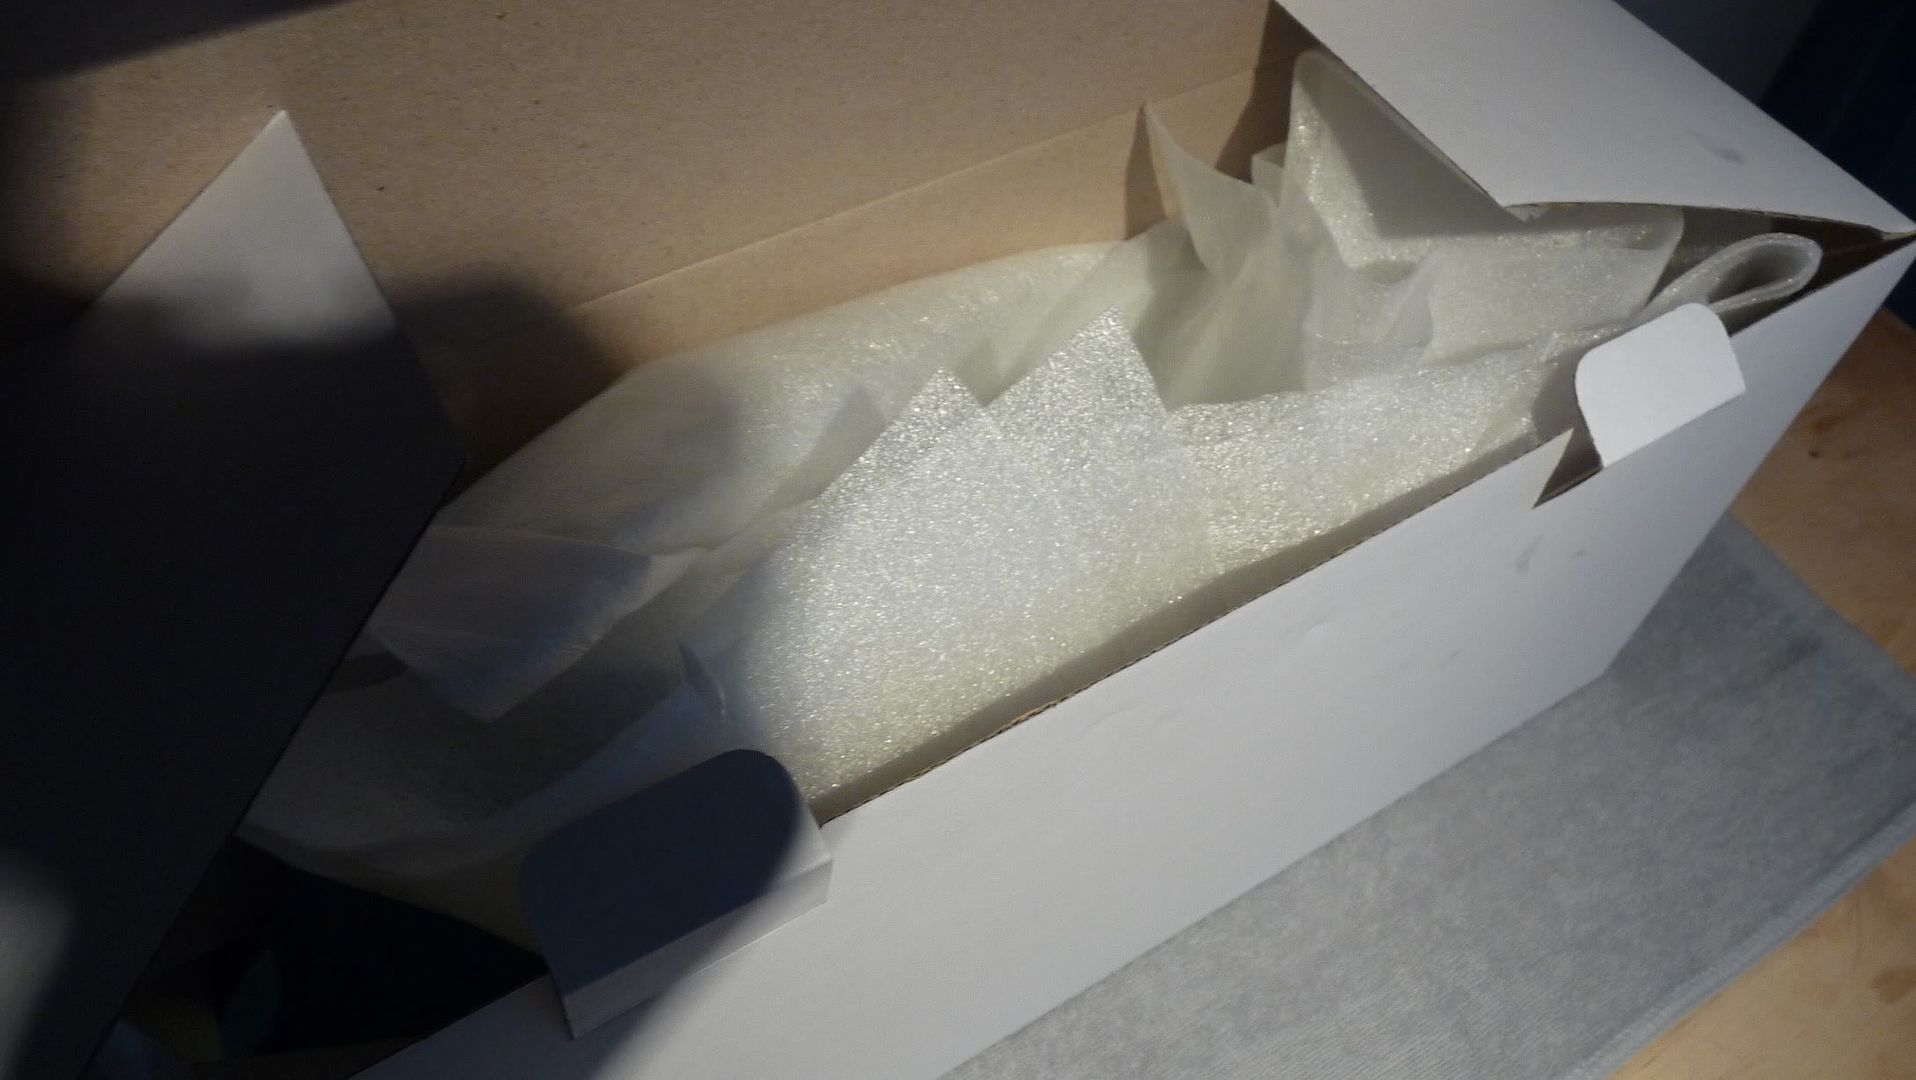 Can you guess what it could be?  Well Well Well! 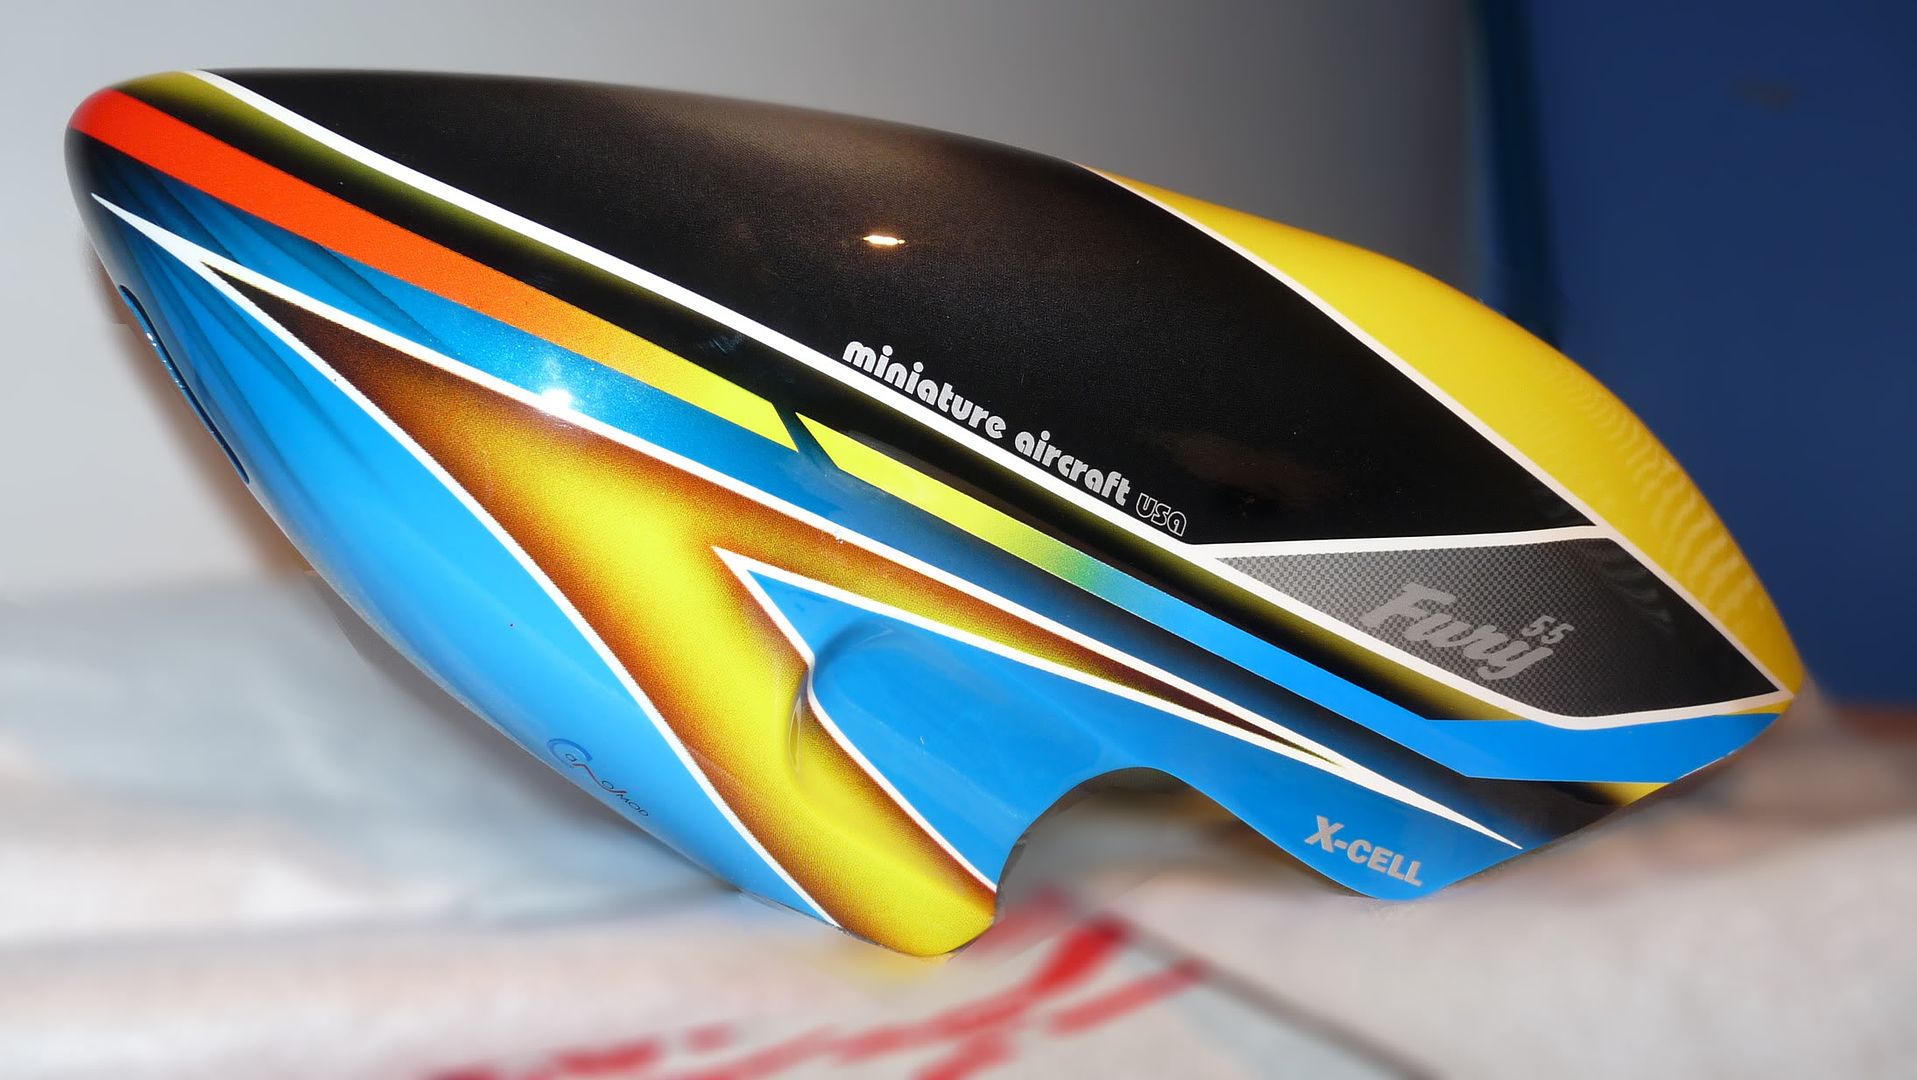 Look at the beautiful painted canopy by canomod.. It's one the best stock painted canopy's i've seen in a long while. 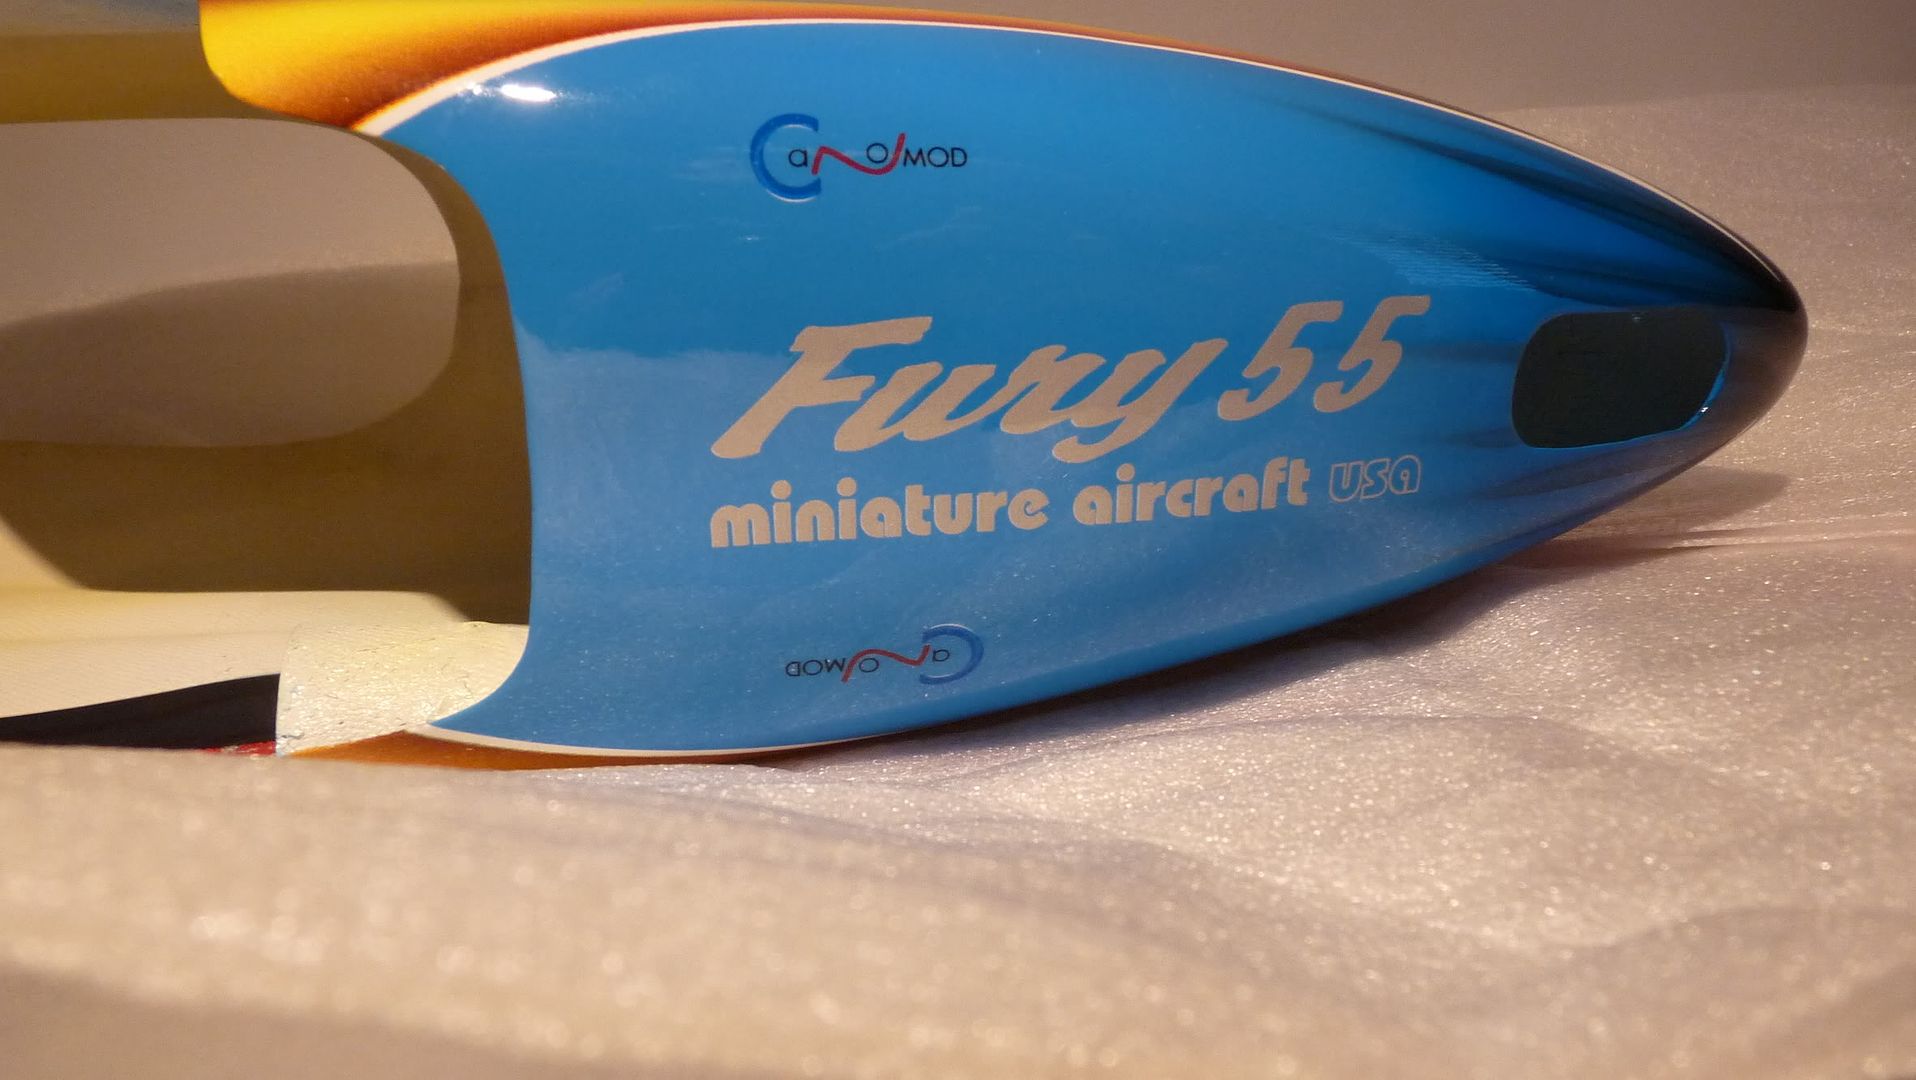 So, With the box contents explored, I shall now move onto the build next! 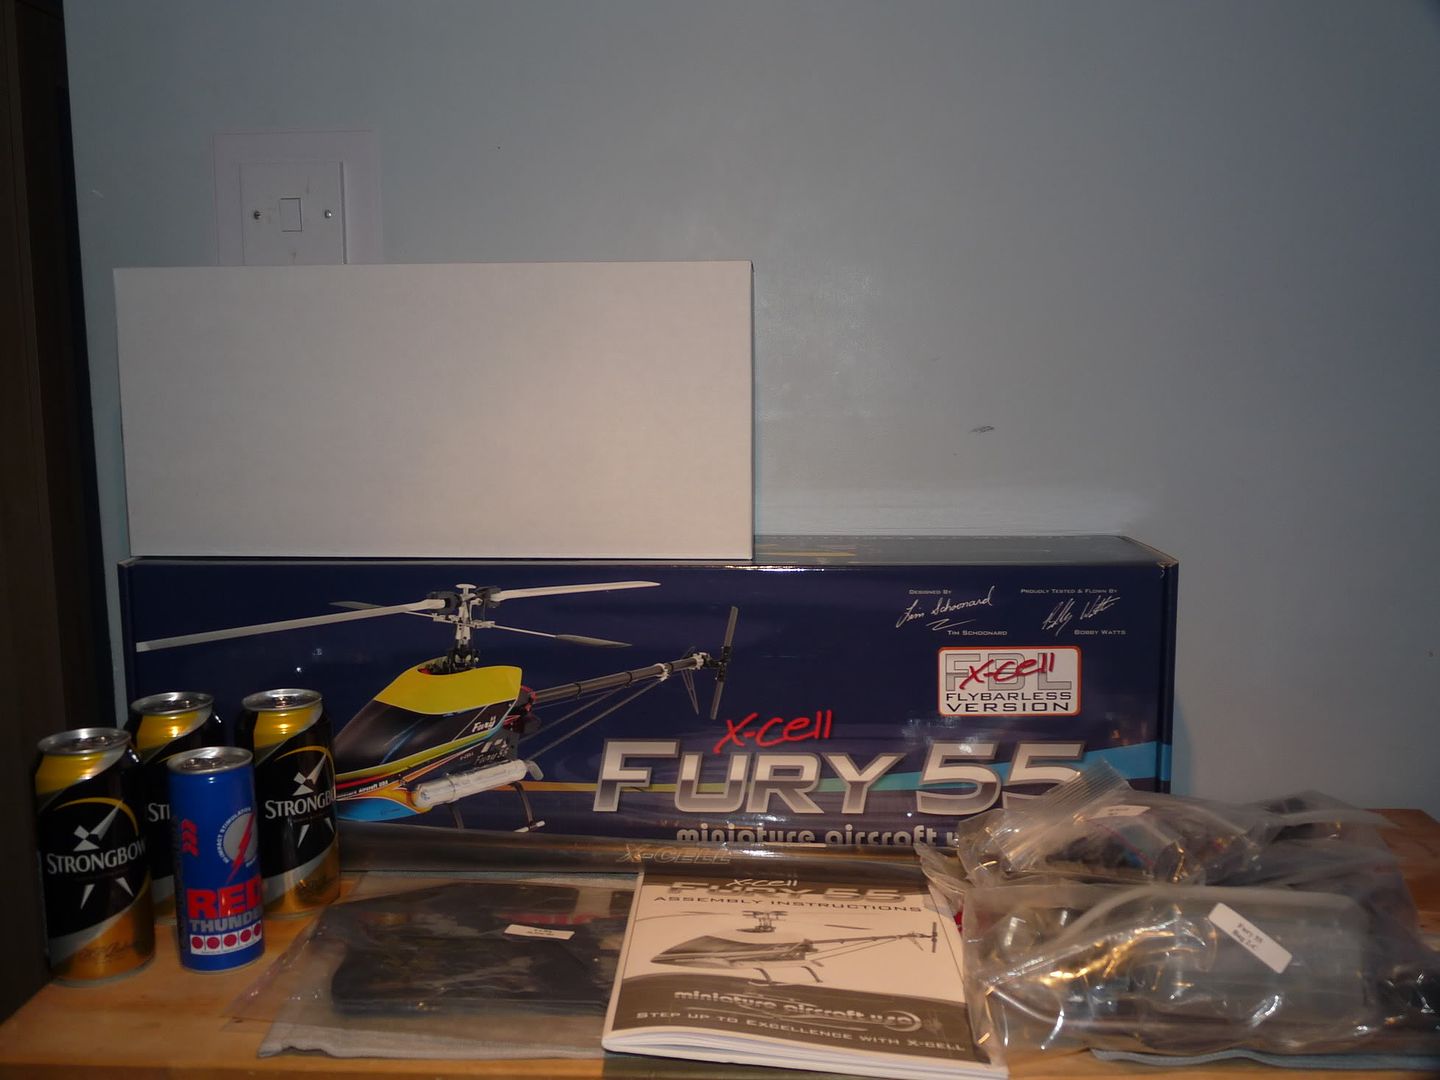 Chapter 1 Finished! Next... The Build! Last edited by callum; 01-11-2011 at 07:39 PM.. |
|
|
|
|
01-11-2011, 06:57 PM
|
#6 (permalink) |
|
Registered Users
|
Nice job so far!
But yes.. re-size the photos! (And move to the appropriate forum)
__________________
"It's not just a hobby... it's a lifestyle" - Pete ϟ MINNESOTA! Goblin 500 + 700 / SK540 / Jives / DX8 / Quantum / RJX servos / 306b / Deep cycles |
|
|
|
|
01-11-2011, 07:00 PM
|
#7 (permalink) |
|
Registered Users
Join Date: Mar 2010
|
Its fine here, the MA forum is one of the many I dont bother to visit.
|
|
|
|
|
01-11-2011, 07:05 PM
|
#8 (permalink) |
|
Registered Users
Join Date: Mar 2010
|
For you Chrome users. Hold down the Control key and scroll down on your mouse. The pics will fit beautifully
 Also that is a great looking kit. Also that is a great looking kit.
__________________
Blade 130X Xtreme-Production
Blade mCP X (Bl) Blade Nano CP X Prôtos 700 |
|
|
|
|
01-11-2011, 07:09 PM
|
#9 (permalink) | ||
|
HF Support
|
Quote:
Quote:
__________________
Alan (just call me "Bum"; no need to be so formal) HeliFreak Support Protos Max Evo 700 (Brain 2), Protos Max V2 770 (iKON 2), Synergy 516 (Brain 2), Oxy 2 (Falcon 12) Graupner MZ-32 Experience is something you gain only after you need it. I wouldn't mind social media so much if it didn't involve people. |
||
|
|
|

|
01-11-2011, 07:13 PM
|
#10 (permalink) | |
|
Registered Users
|
Quote:
__________________
"It's not just a hobby... it's a lifestyle" - Pete ϟ MINNESOTA! Goblin 500 + 700 / SK540 / Jives / DX8 / Quantum / RJX servos / 306b / Deep cycles |
|
|
|
|
|
01-11-2011, 07:13 PM
|
#11 (permalink) | |
|
HF Support
|
Quote:
__________________
Alan (just call me "Bum"; no need to be so formal) HeliFreak Support Protos Max Evo 700 (Brain 2), Protos Max V2 770 (iKON 2), Synergy 516 (Brain 2), Oxy 2 (Falcon 12) Graupner MZ-32 Experience is something you gain only after you need it. I wouldn't mind social media so much if it didn't involve people. |
|
|
|
|
|
01-11-2011, 07:40 PM
|
#12 (permalink) |
|
Thread Starter
Join Date: Sep 2008
|
Whoops!
Sorry for the huge picture guys! I didn't know the forum did not have auto thumbnail |
|
|
|
|
01-11-2011, 07:41 PM
|
#13 (permalink) |
|
Thread Starter
Join Date: Sep 2008
|
Well.. The build has officially commenced! With Bag 1 In this bag we build the mainframes and also the main gear and hub unit, Along with installing the tail belt. 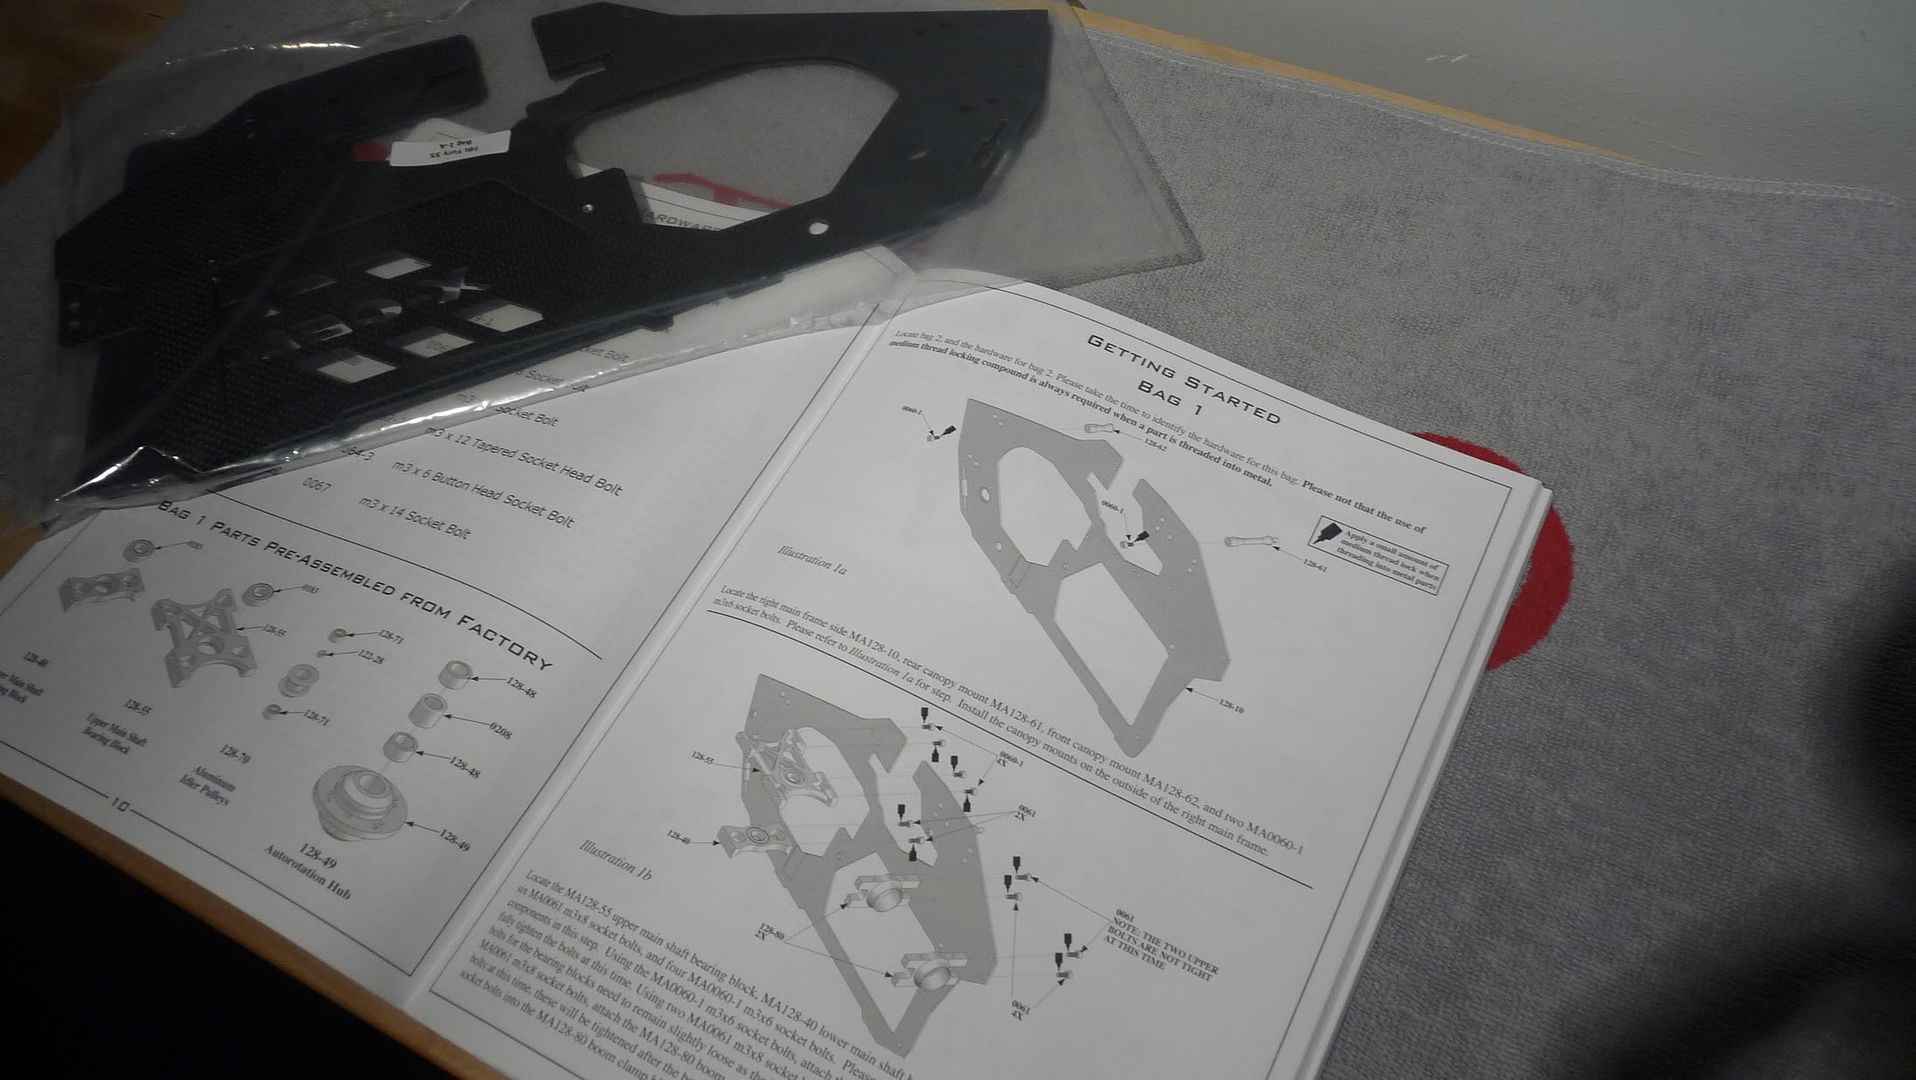 So now, I start to work trough the manual, First off is the canopy mount posts! I must say.. The quality is top notch for sure! 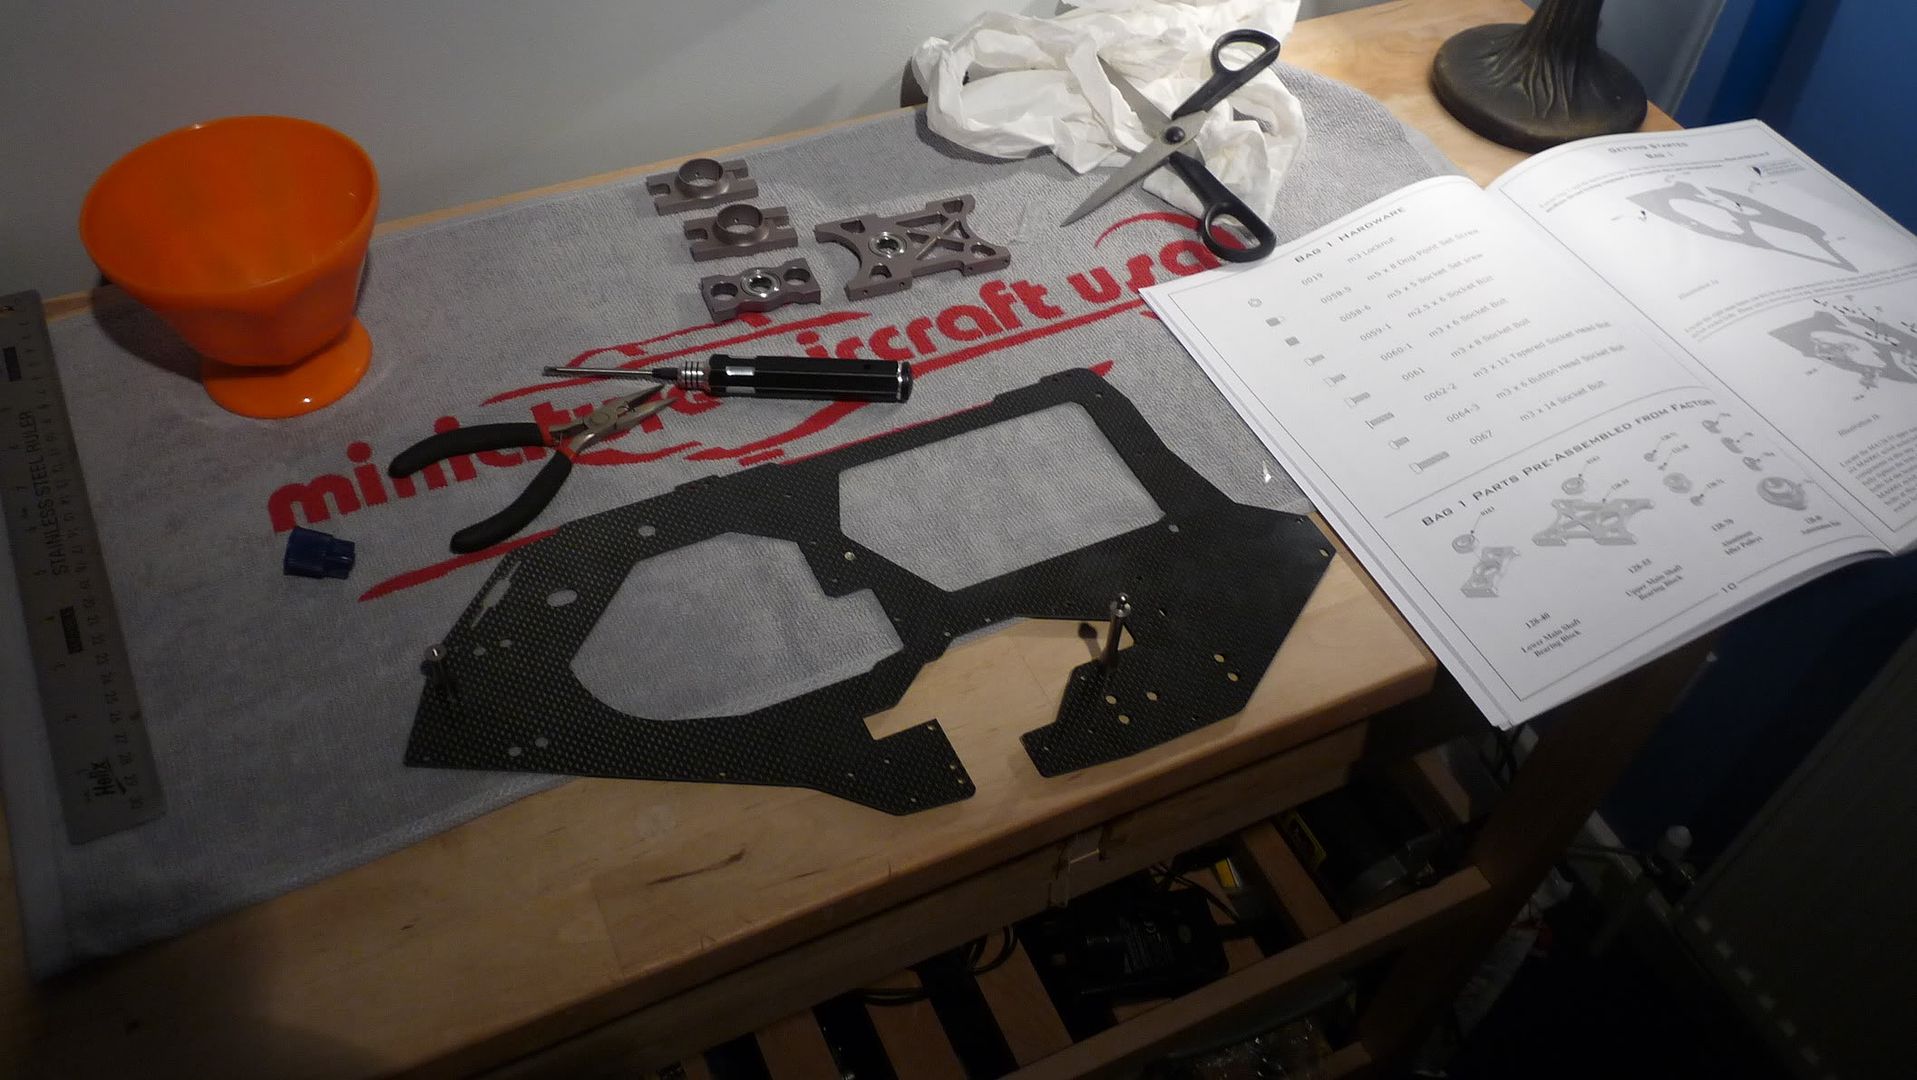 Another View: 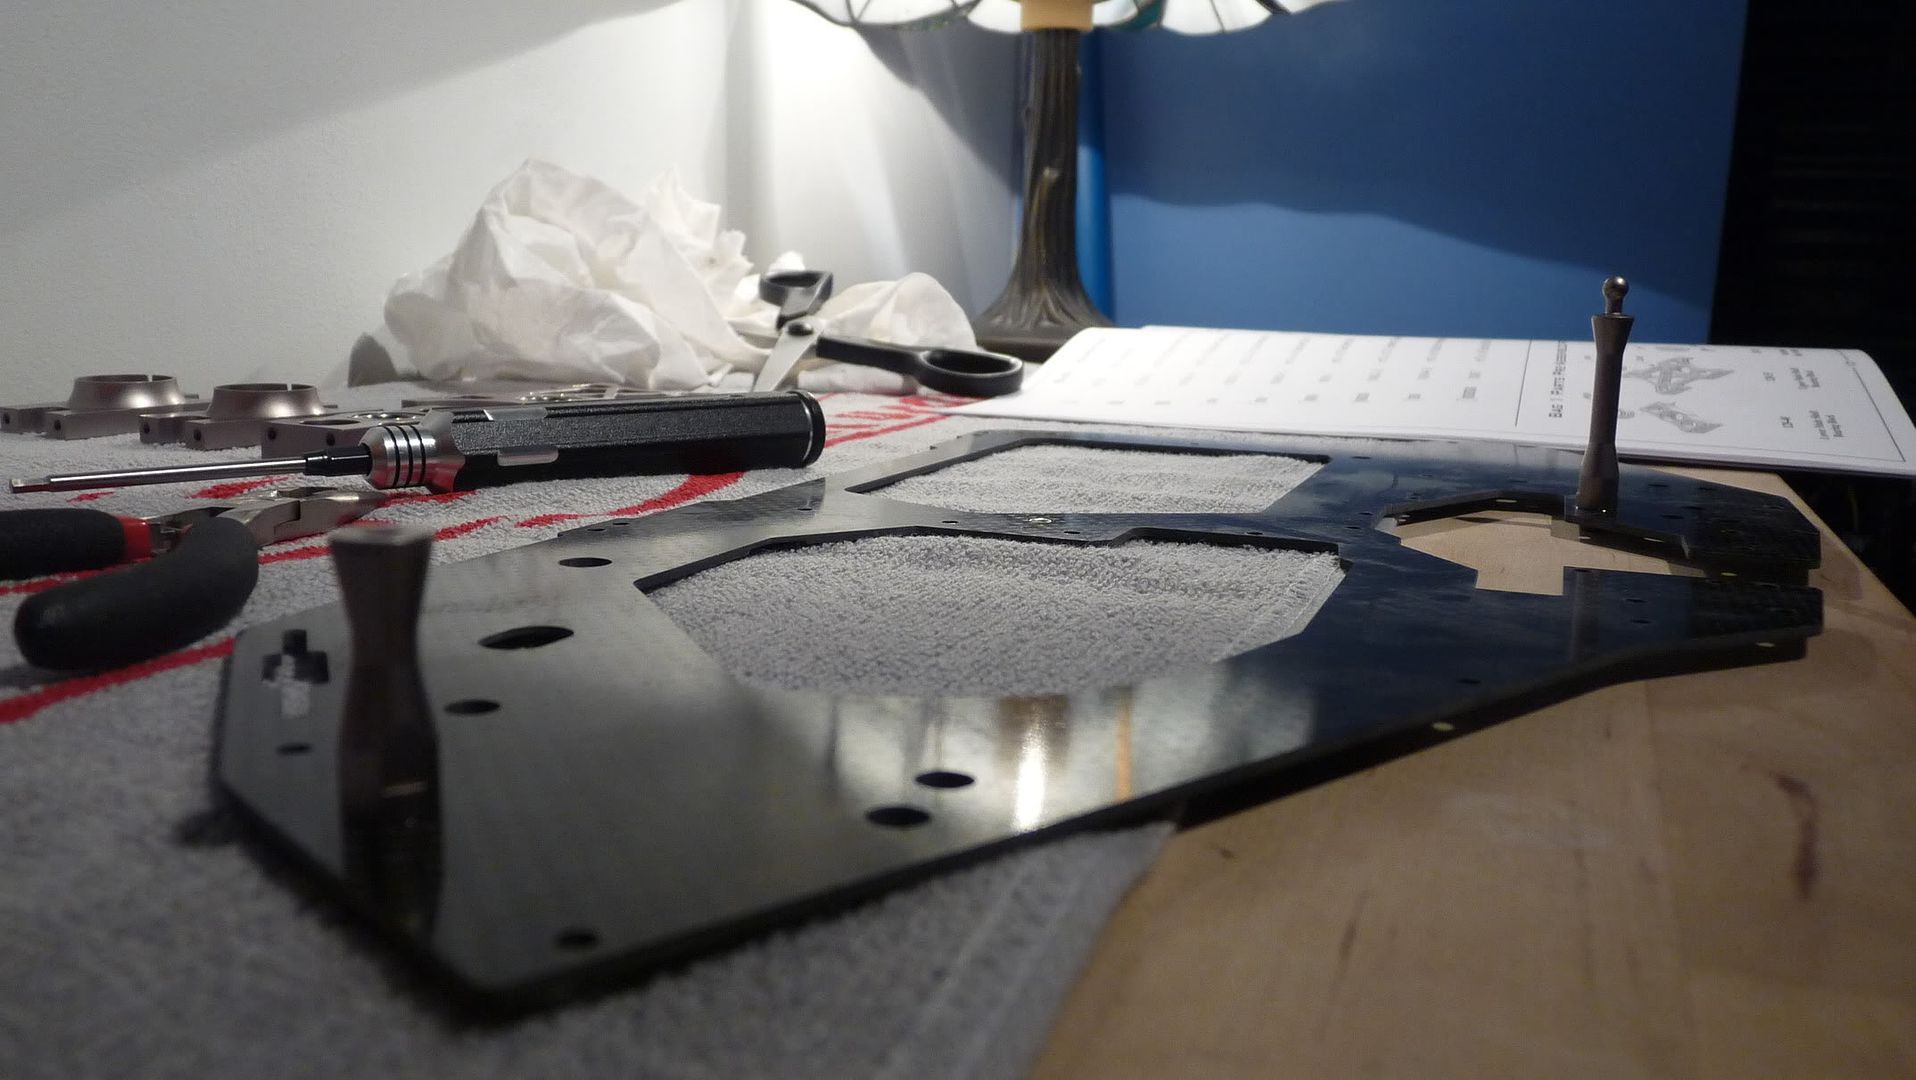 Once those bit's were installed the manual wanted me to loosely install the bearing blocks, aswell as the tail boom hub's. The reason why it asks to install them loosely is to allow aligning of the mainshaft for a silky smooth operation. 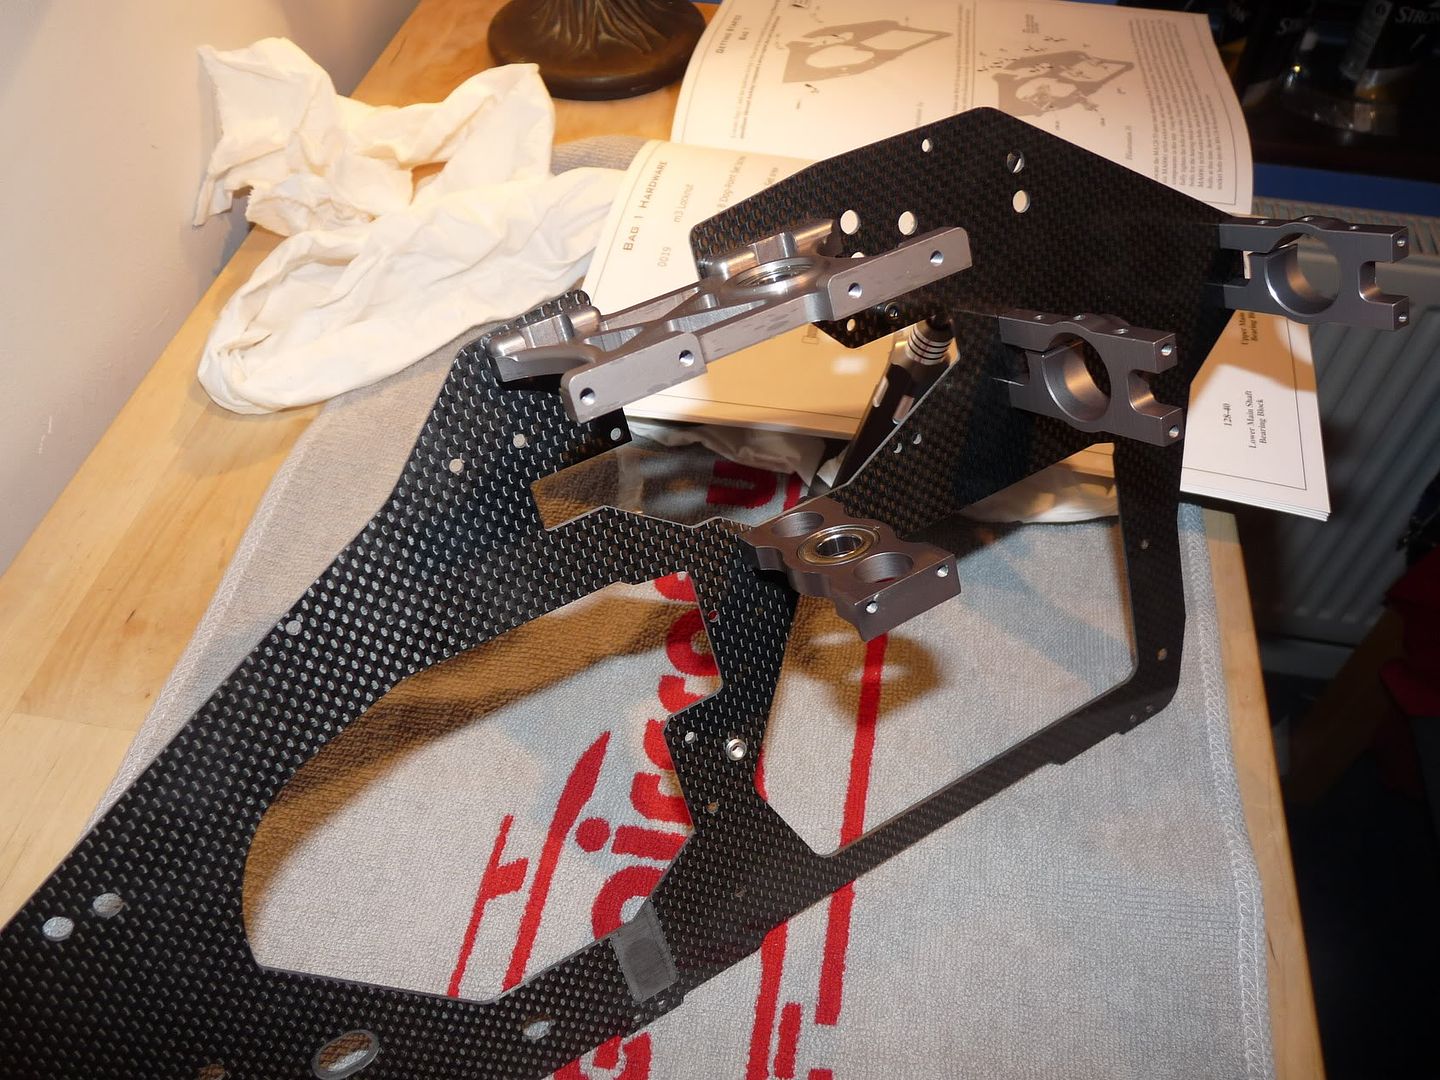 |
|
|
|
|
01-11-2011, 07:42 PM
|
#14 (permalink) |
|
Thread Starter
Join Date: Sep 2008
|
Swiftly progressing trough the manual, I have installed the radio tray and some of the frame supports along with the fuel tank mount stand-offs aswell as the tail belt pulley guides. Again, Quality is at it's best. Everything fitting together silky smooth, Every hole lines up perfectly. 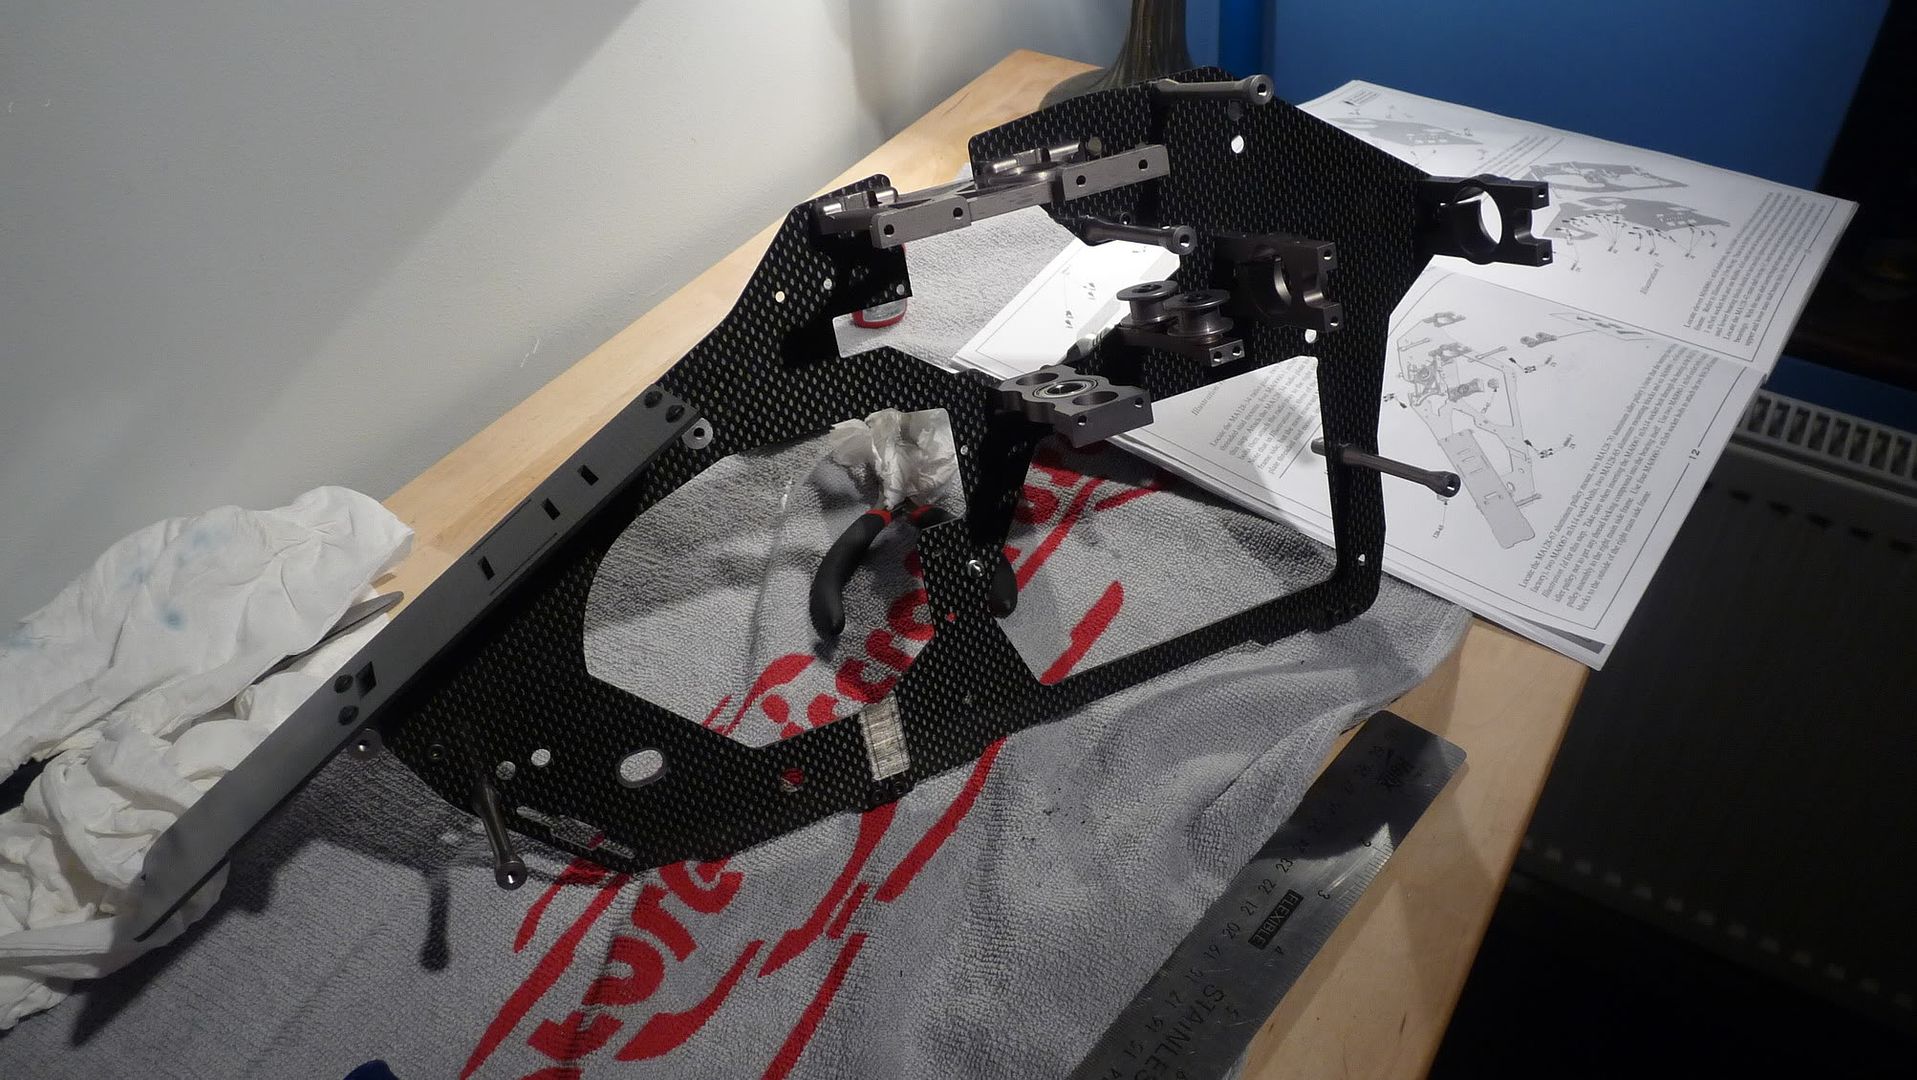 Another angle shot: 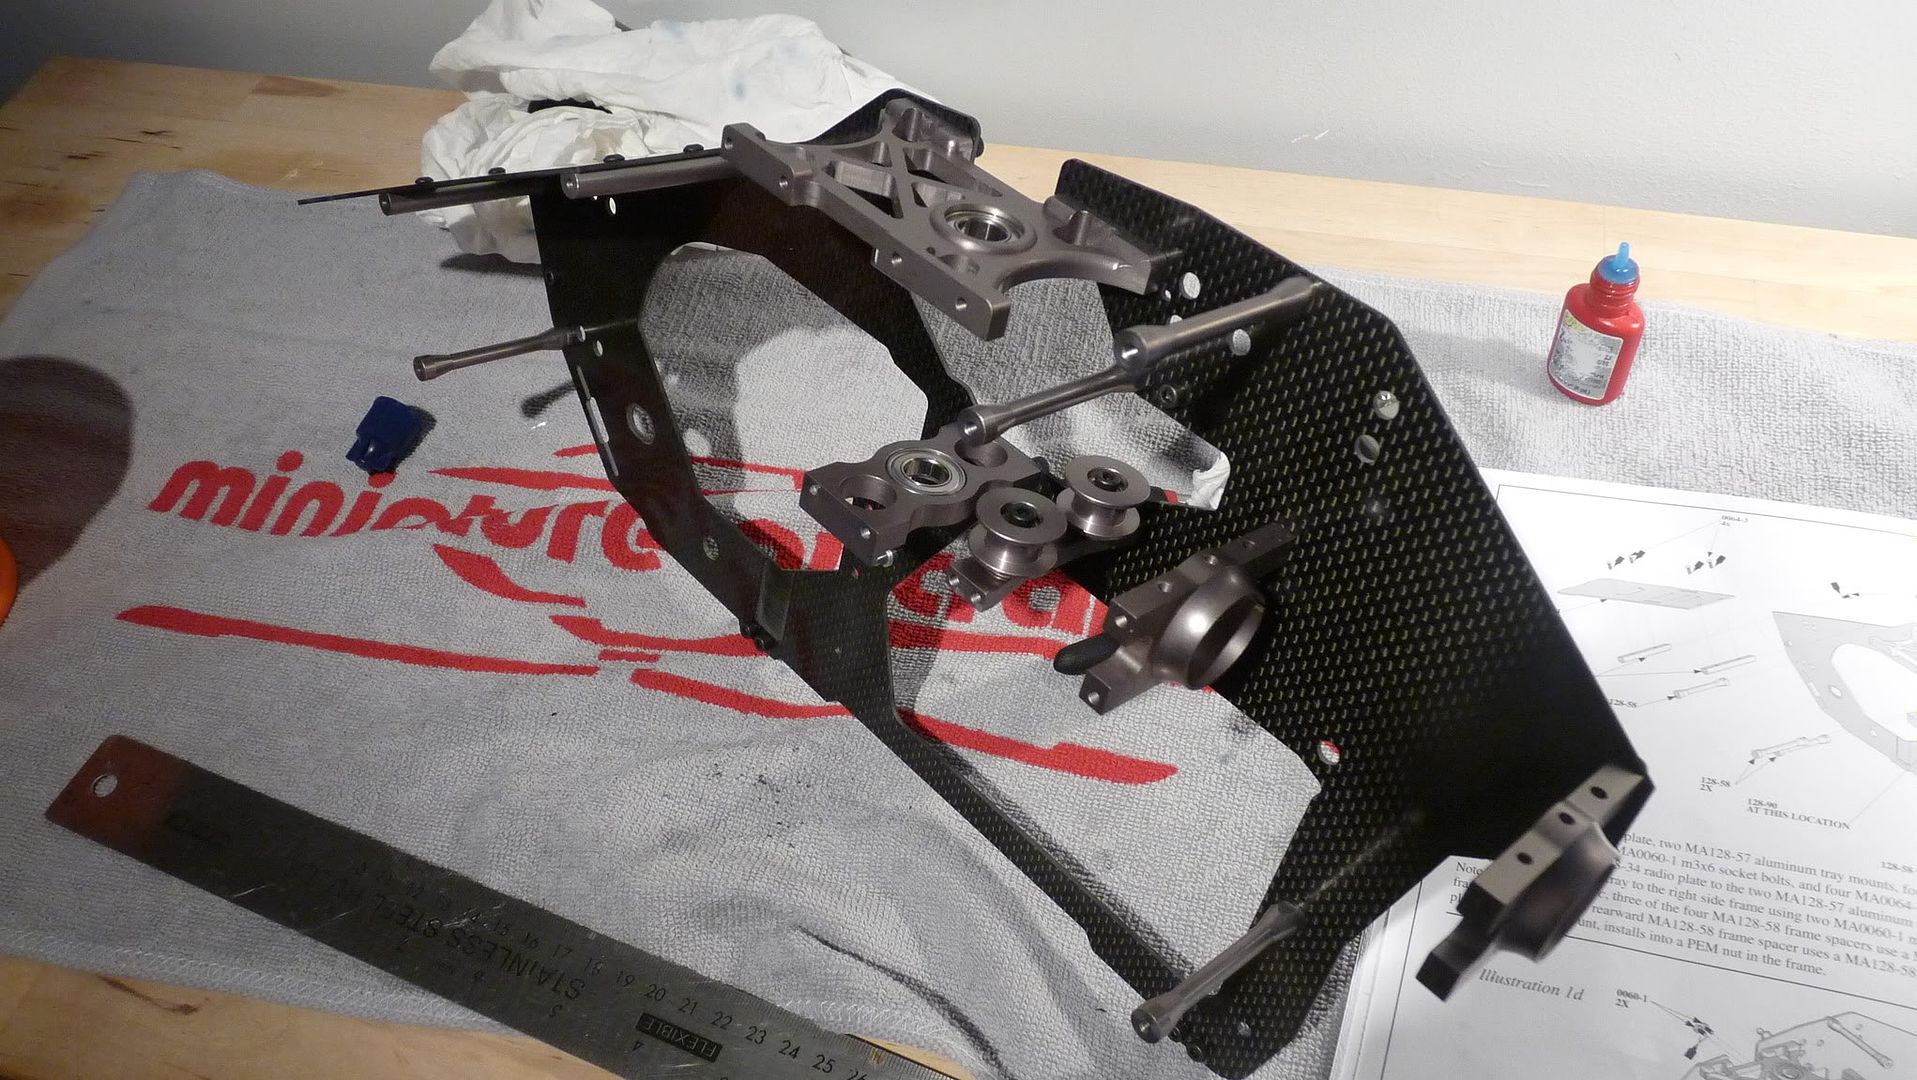 Once all the bits had been fitted to one side of the frame, It was now time to join the left side to the right side to make up the frame base. The hardware install is pretty much just like the first steps with the right hand side frame. 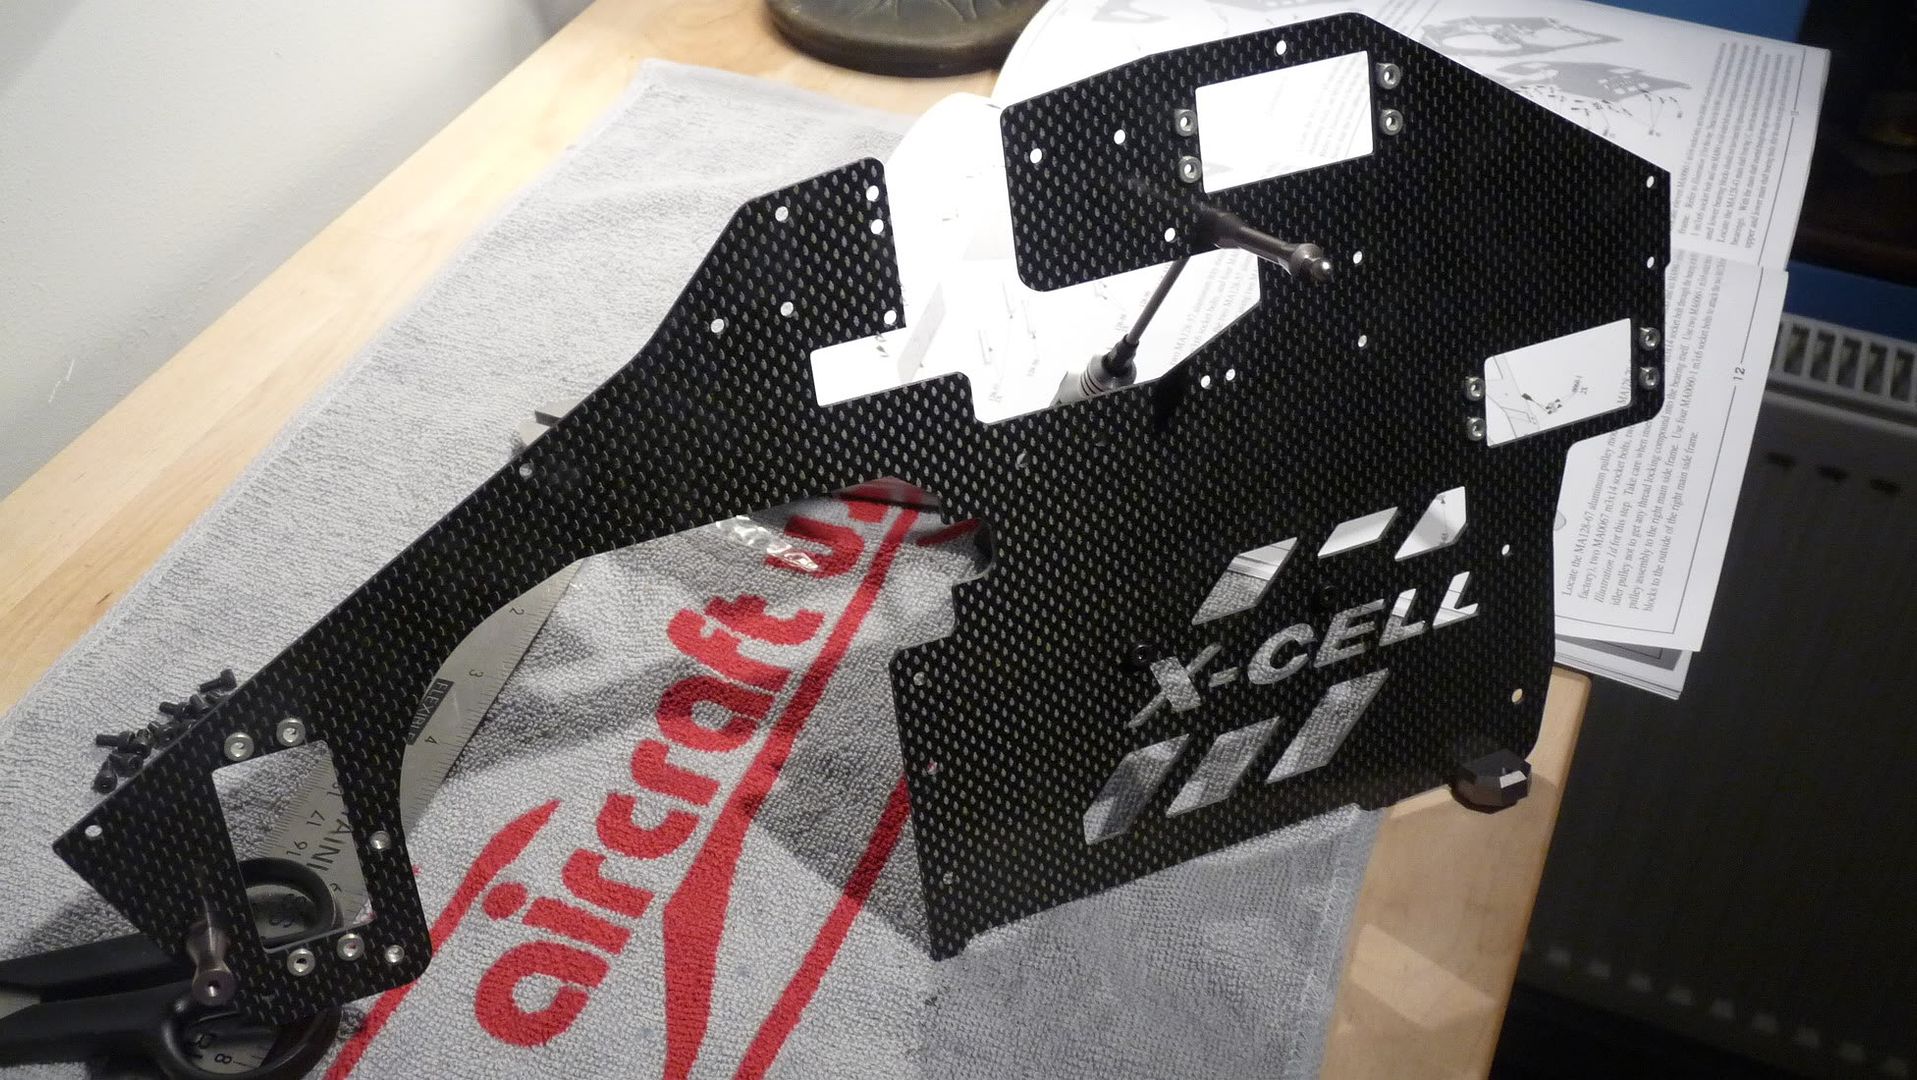 So, off I went and progressed installing the other screw's into the various stand-offs and bearing blocks. During the install I left around 6 screw's on the bearing blocks to allow the aligning of them in the next step. 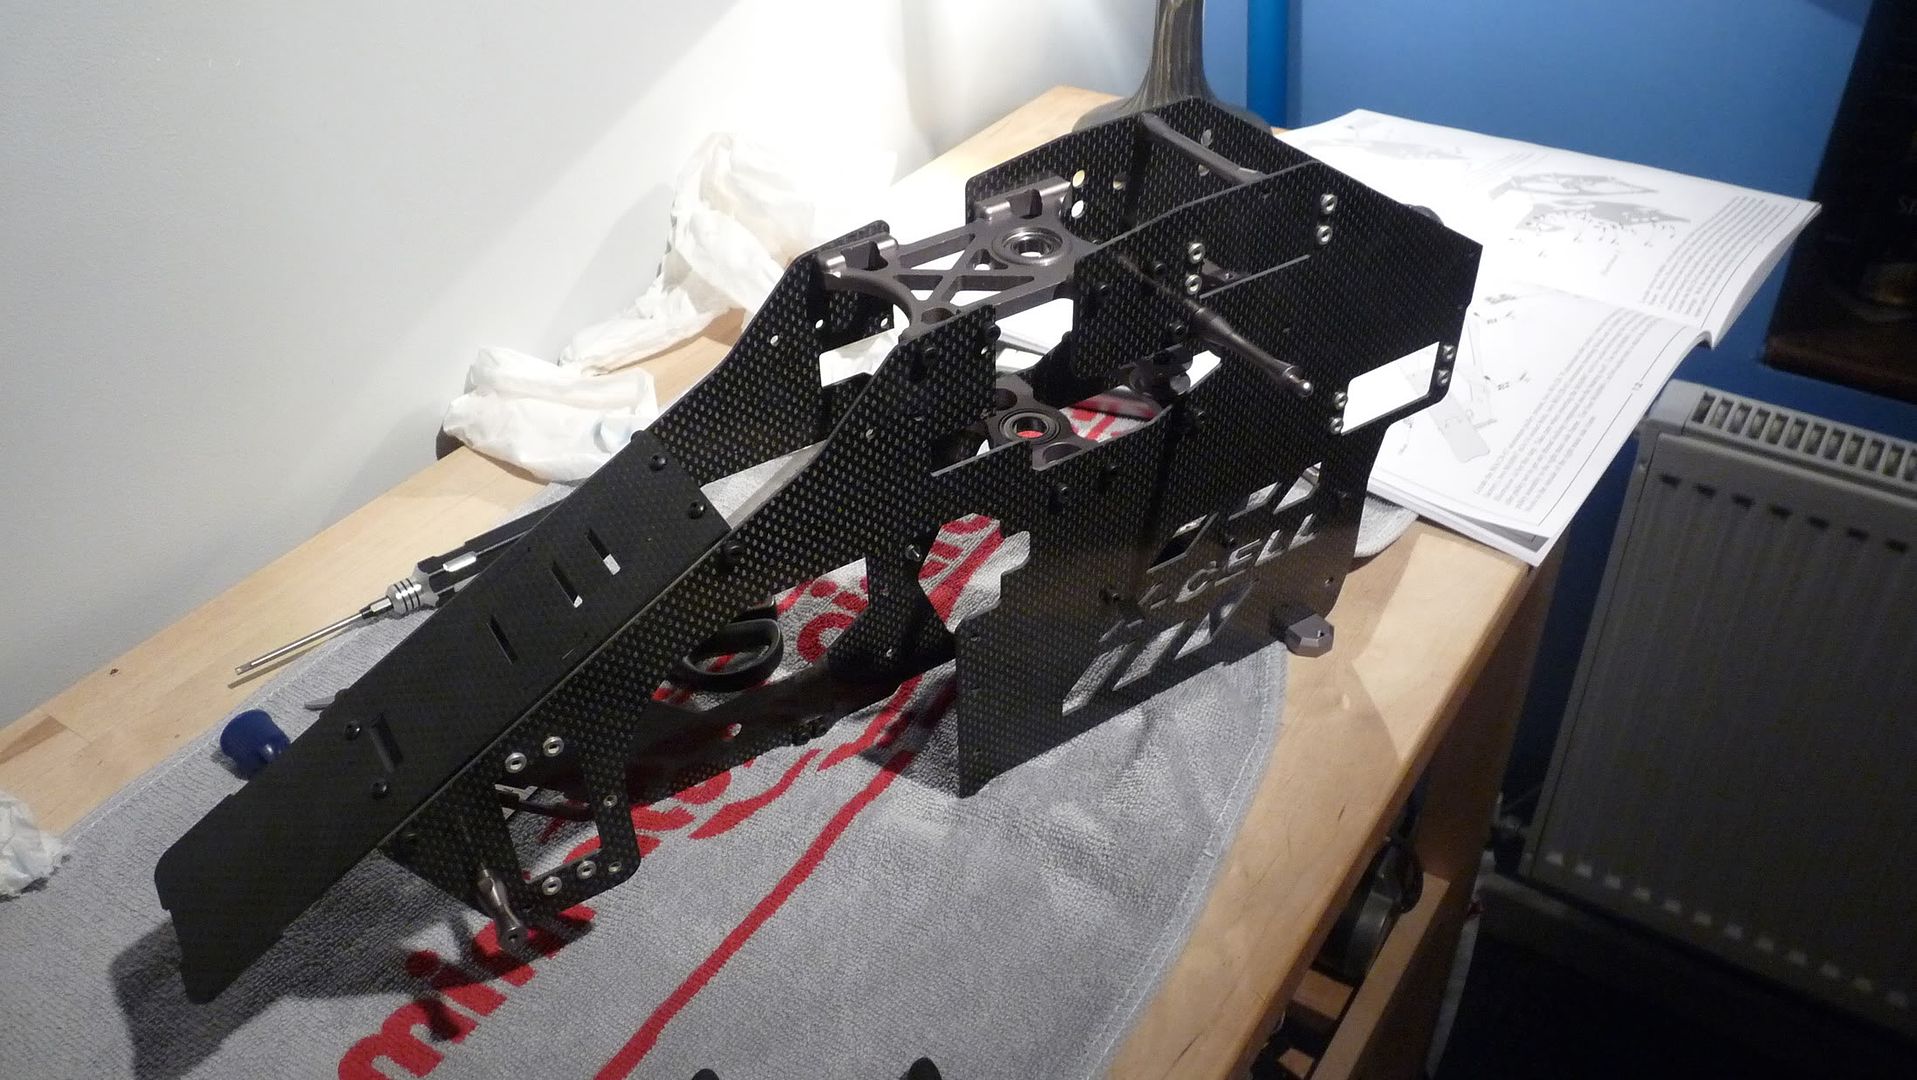 Quality and ease of build is still maintained, Everything mates together perfectly! It's starting to look like a helicopter now! |
|
|
|
|
01-11-2011, 07:43 PM
|
#15 (permalink) |
|
Thread Starter
Join Date: Sep 2008
|
Now, It's time to take the main shaft and insert it into the main bearing blocks to align them up, Once the bearing blocks are aligned, the shaft should slide with ease between the two. Once this is done.. It's time to remove the screws, Loctite em, and refit them! 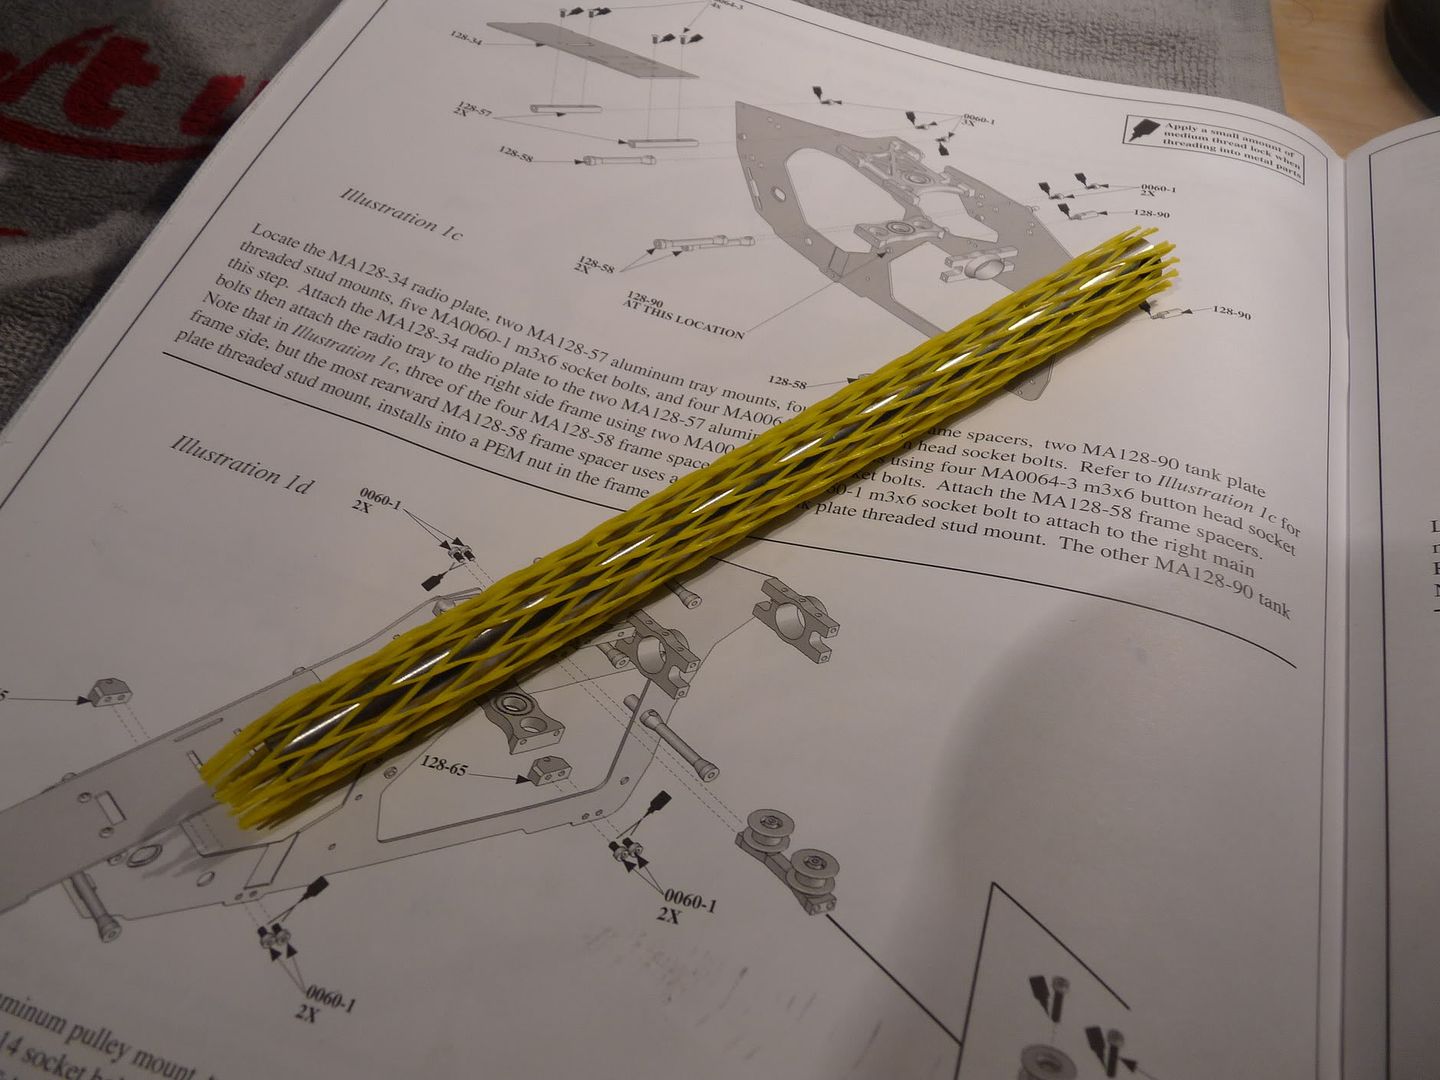 Here you can see the mainshaft in the bearing blocks after aligning the bearing blocks up, I loctited and tightend up the screws: 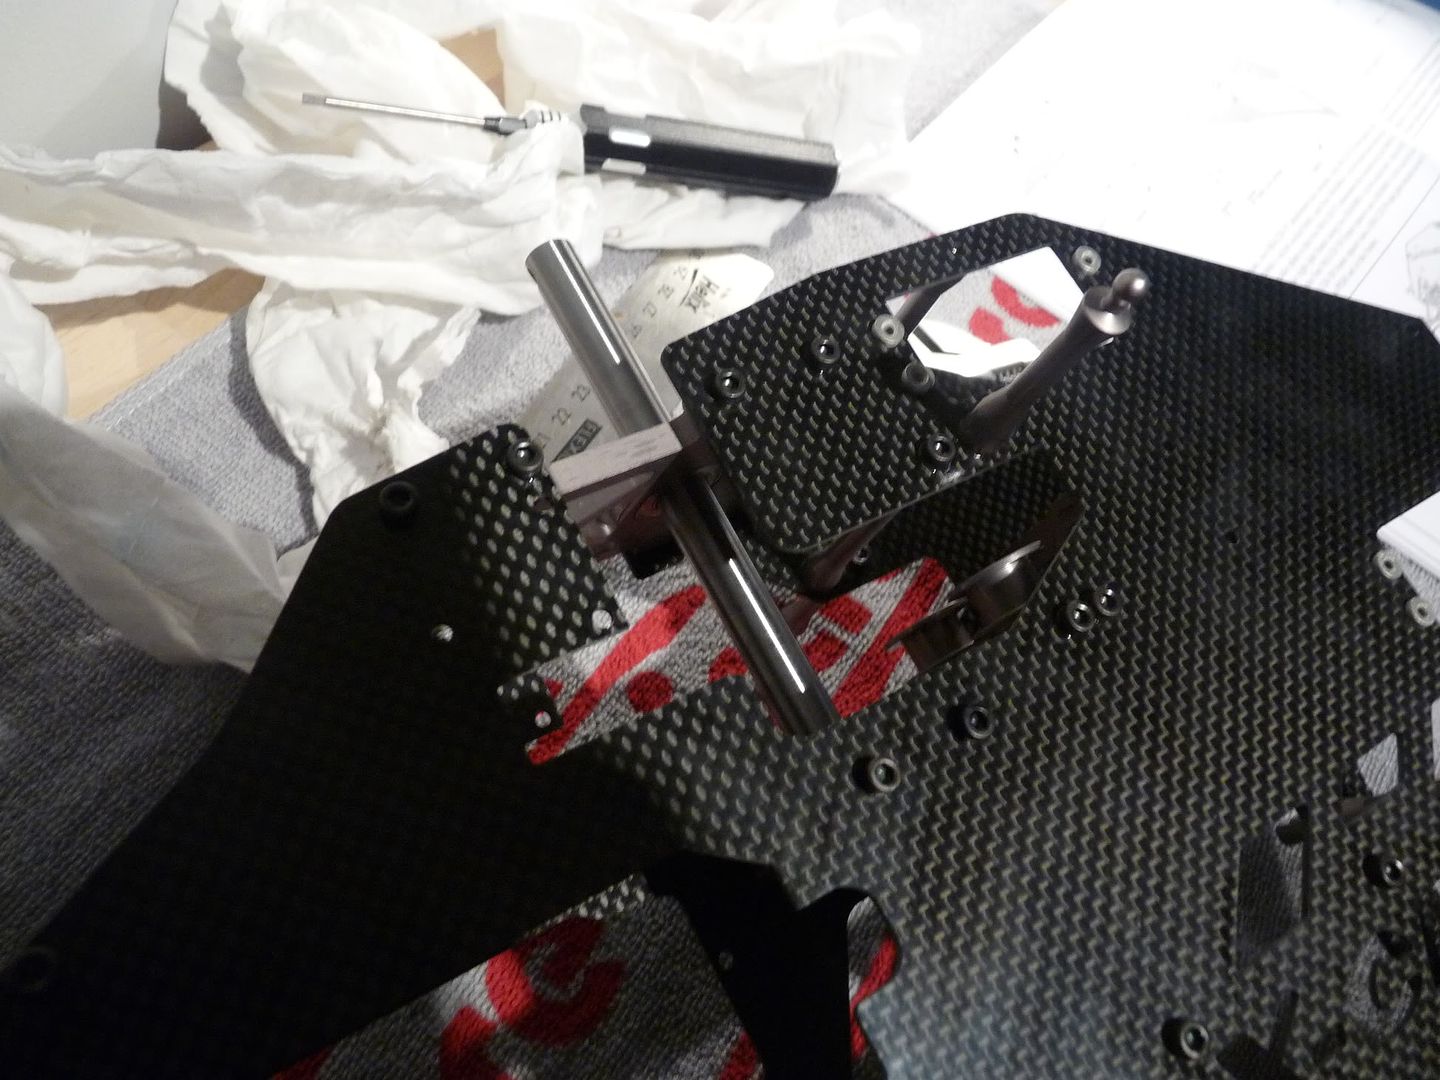 Again.. Not a single problem encounterd yet. and the Quality remains the same.. Fantastic! Now, It's time to get the main aileron and pitch servo mounts assembled and installed. Again these are very easy to assemble and install, 4 Screws are needed for each mount. as you can see in this picture below I have installed the metal mount bracket that joins the two mainframe and servo bracket together; 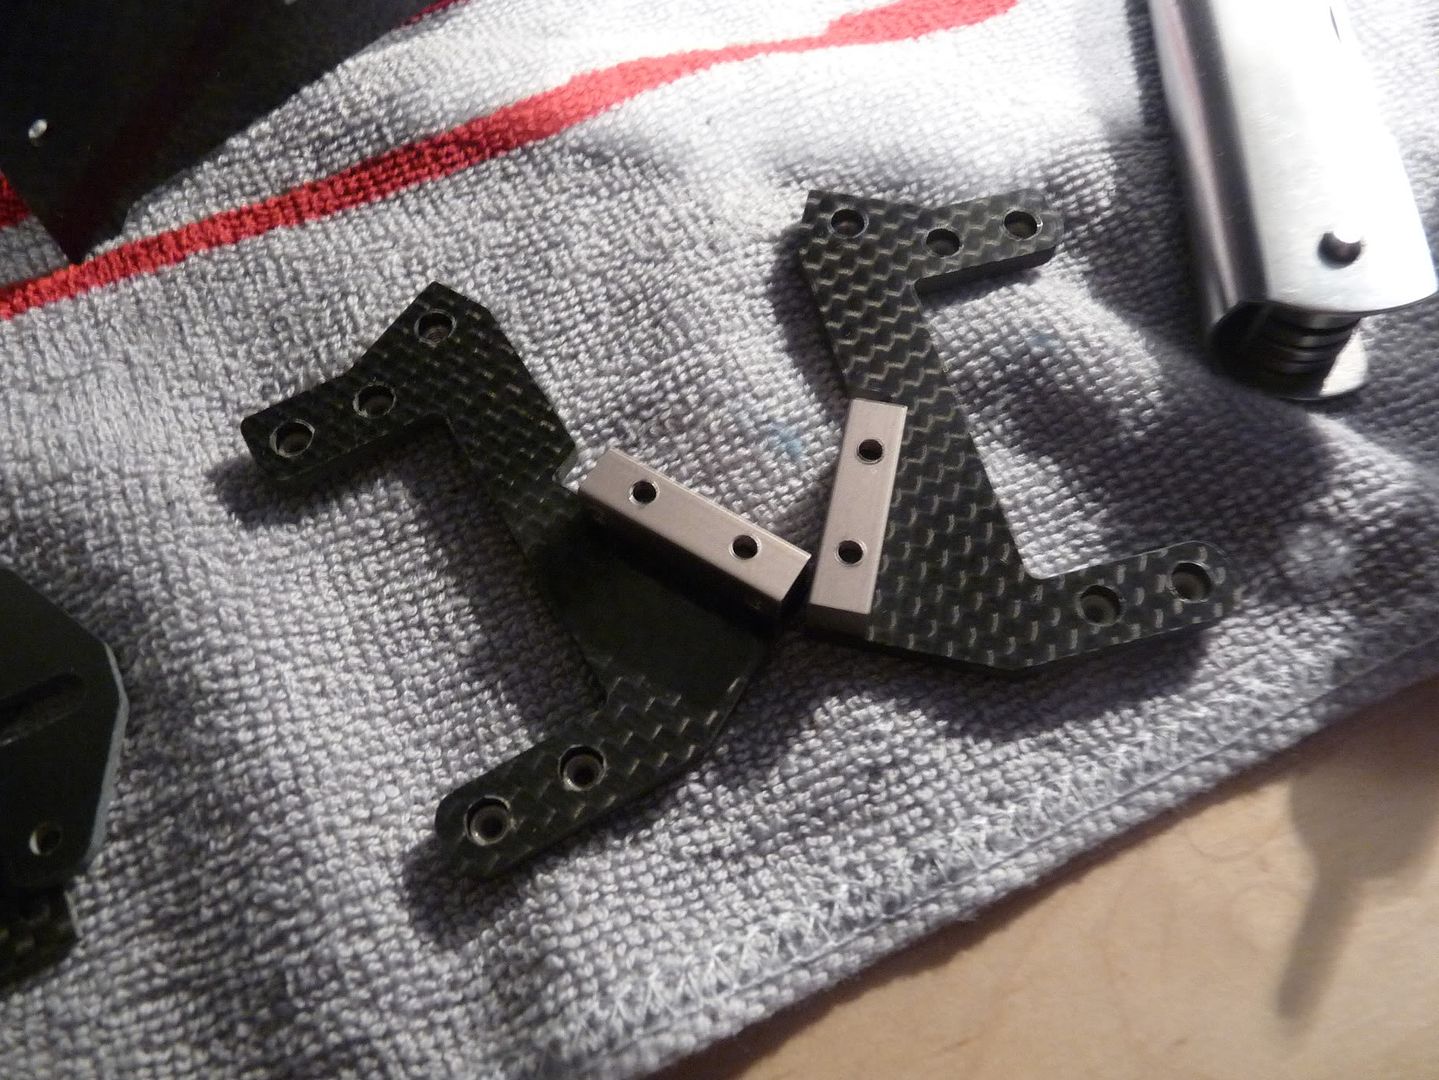 Here's a picture with them installed.. Easy as 1, 2, 3. 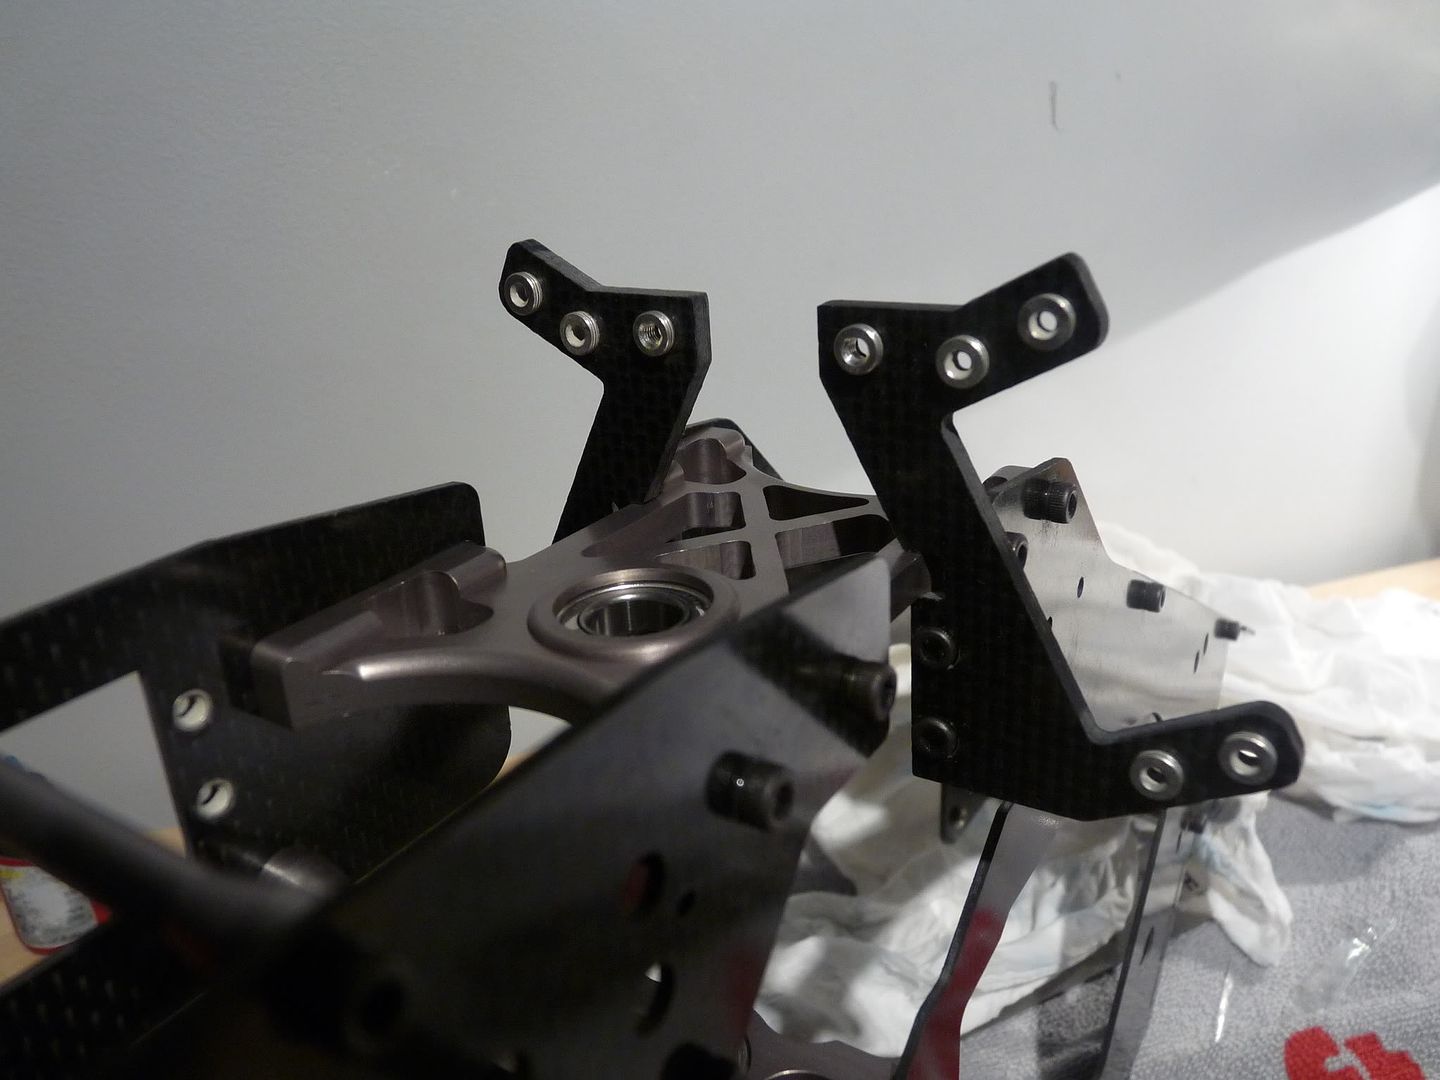 and another angle shot: 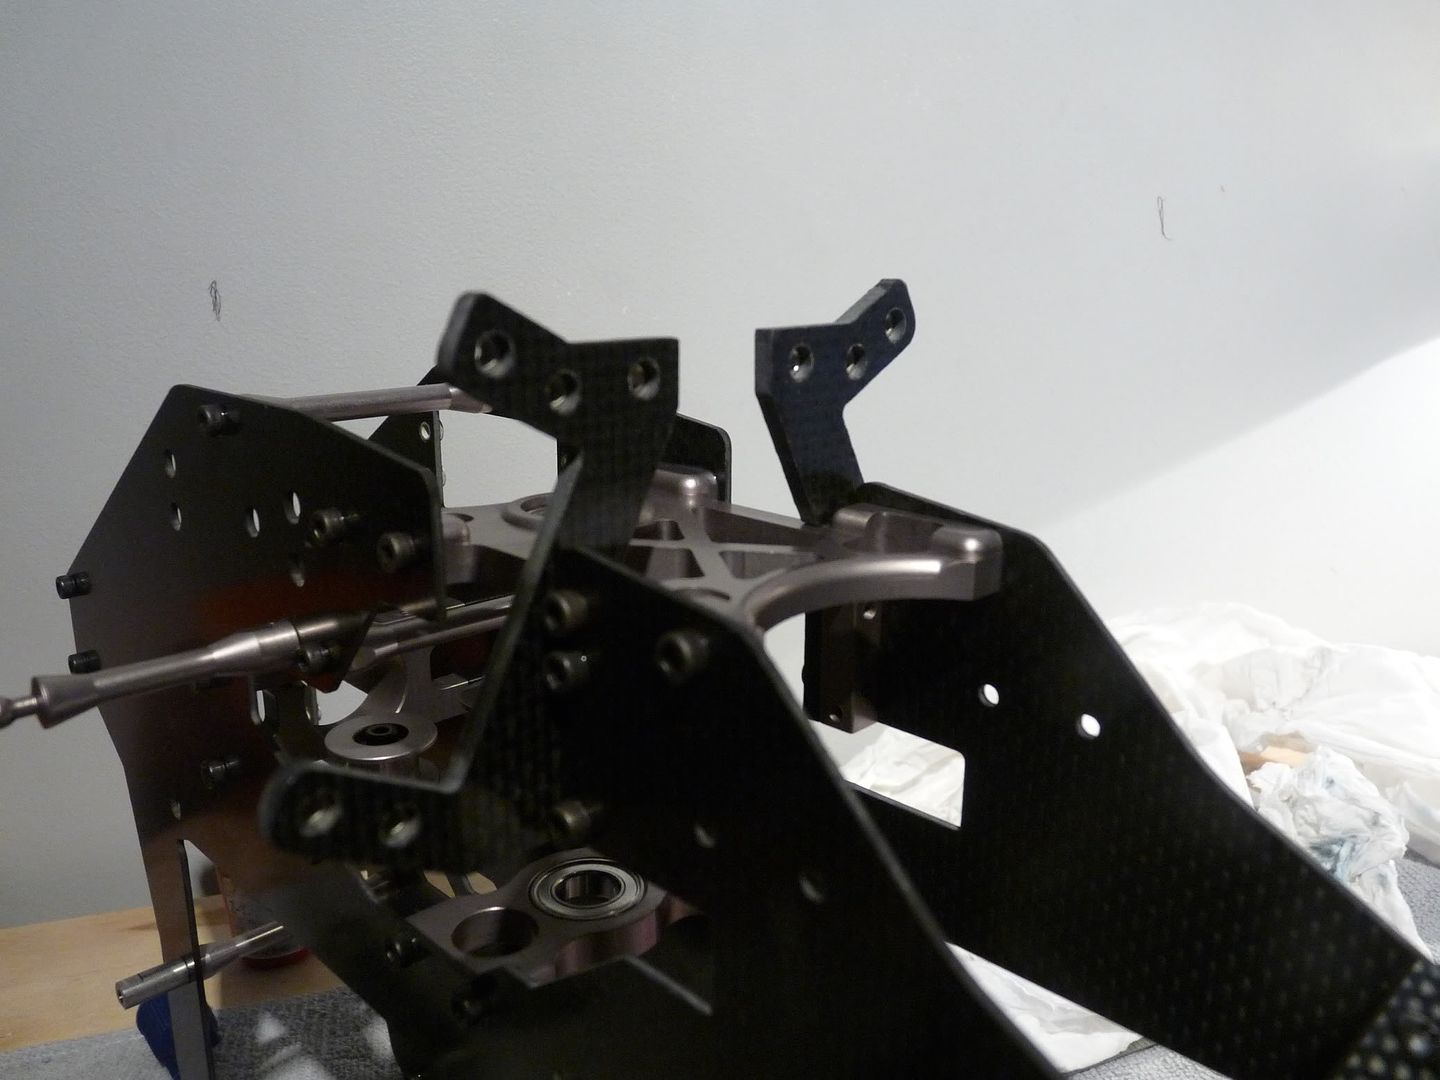 |
|
|
|
|
01-11-2011, 07:44 PM
|
#16 (permalink) |
|
Thread Starter
Join Date: Sep 2008
|
Loook! Very little screws remaining for bag 1 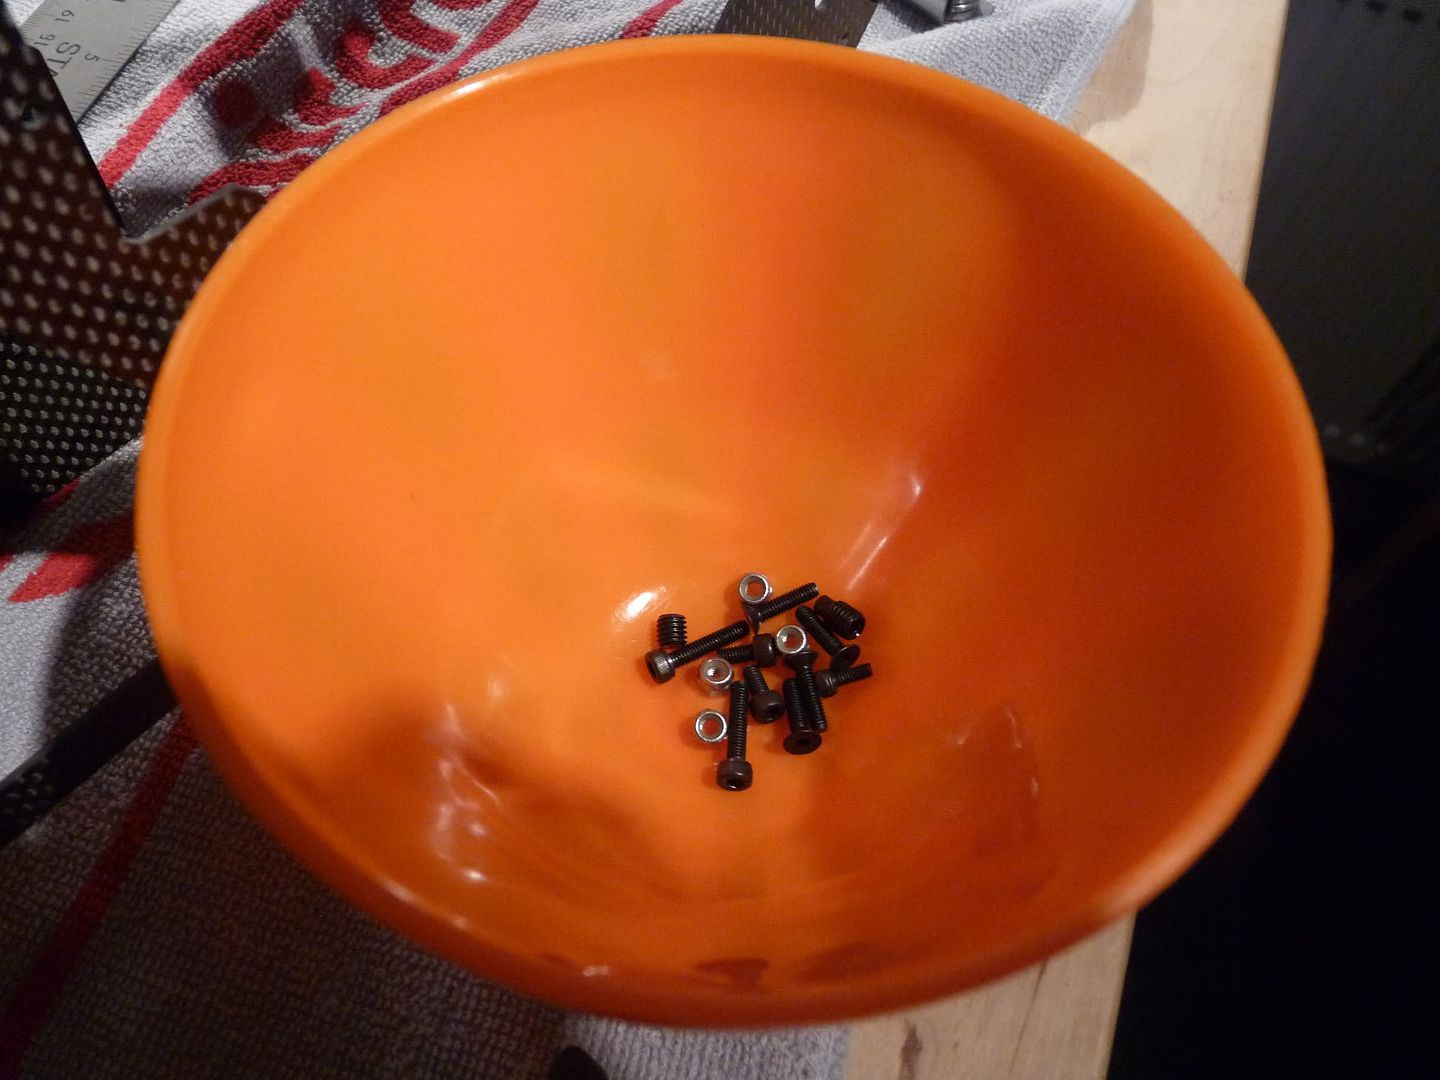 Next up is the swashpin and gear/auto hub assembly. |
|
|
|
|
01-11-2011, 07:44 PM
|
#17 (permalink) |
|
Thread Starter
Join Date: Sep 2008
|
Next up! is the swashpin, Again, This is a very simple task of taking two screw's and loctiting them and installing them! Everything is either made from carbon or alumininum at this stage! It's so great! 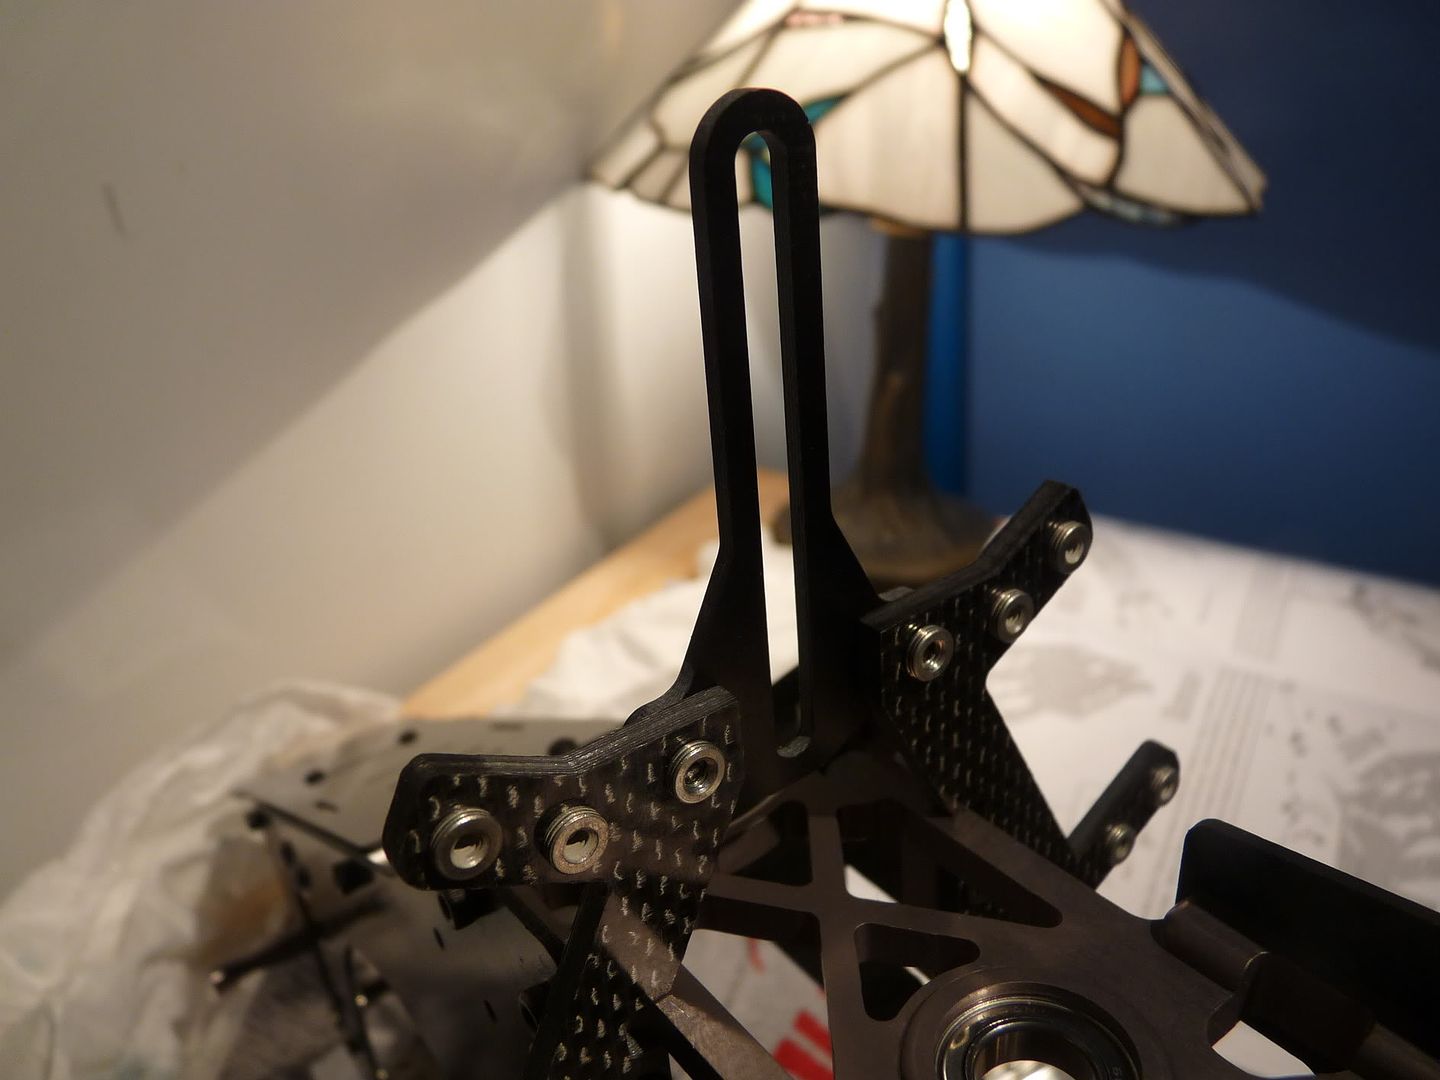 Side on view, Showing the progression! 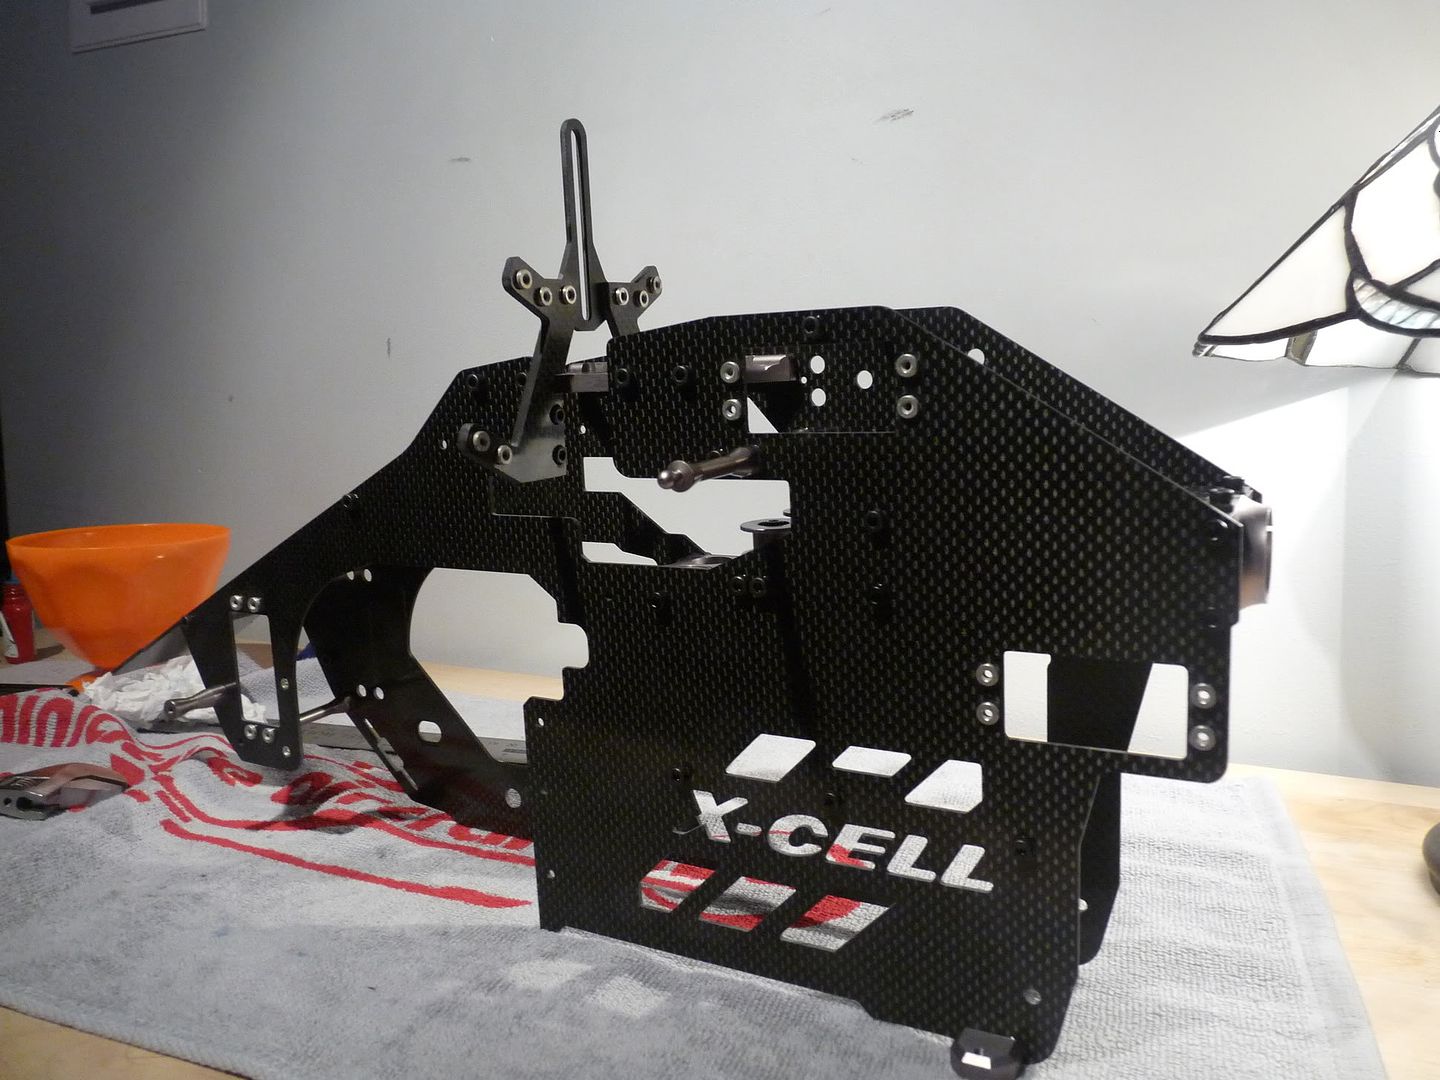 |
|
|
|
|
01-11-2011, 07:45 PM
|
#18 (permalink) |
|
Thread Starter
Join Date: Sep 2008
|
Here we have the main gear and auto hub assembly, This helicopter features somewhat different and unique take on the assembley of these parts.. However I will explain later down this post 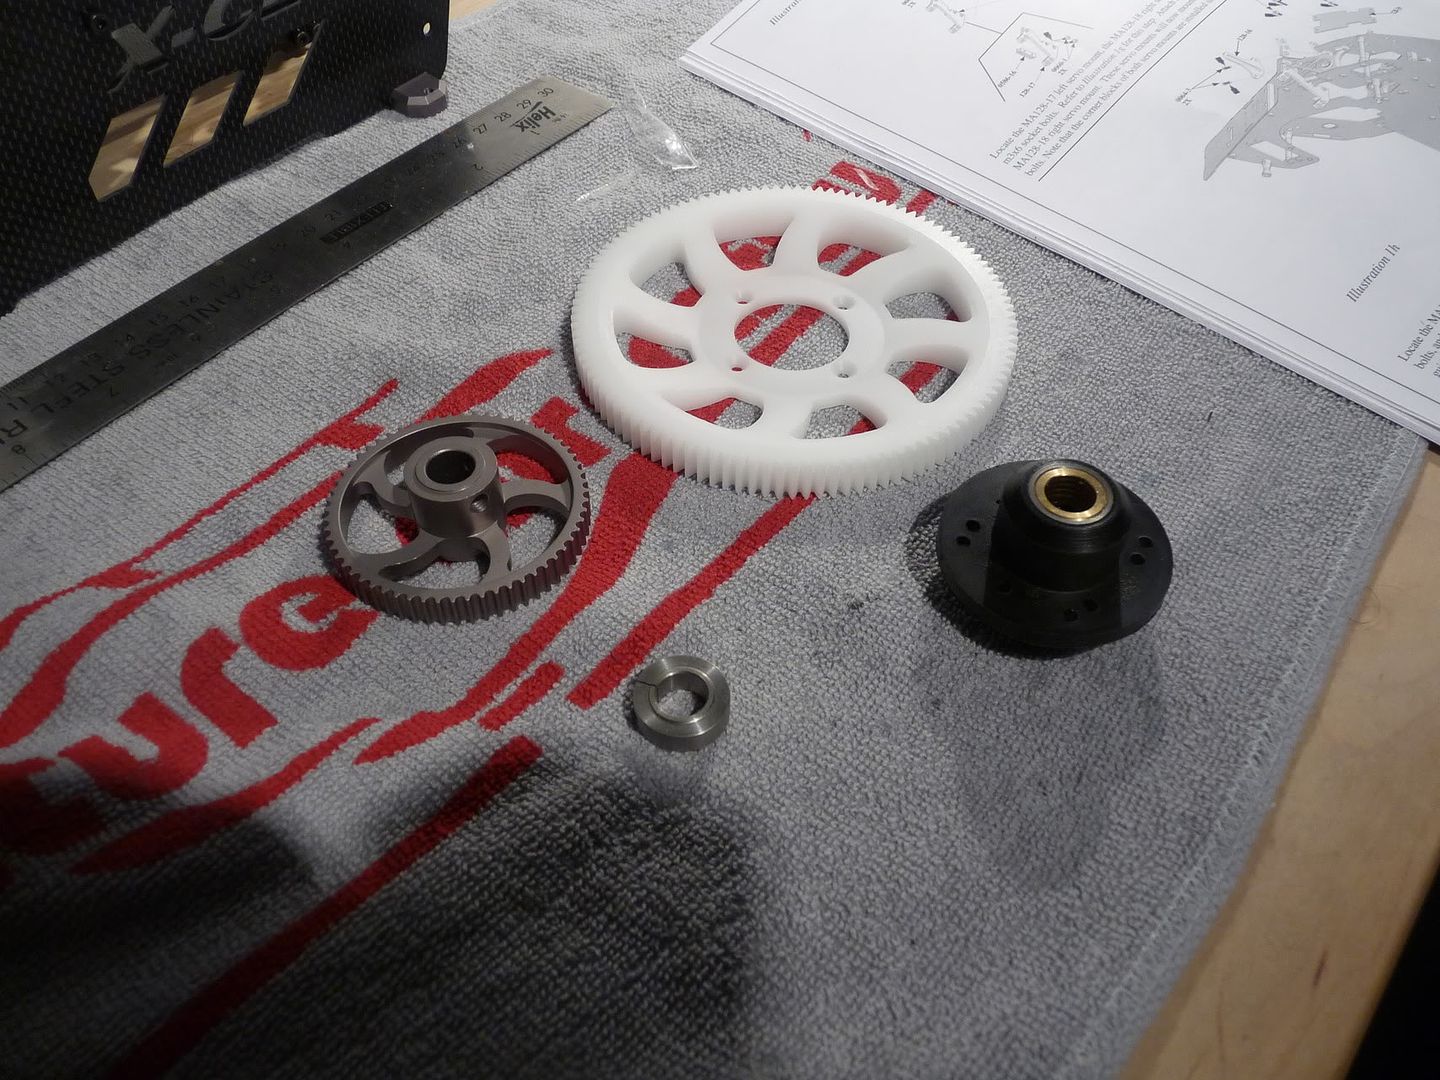 Starting to screw the autohub into the main gear... The hub features a quality torrington bearing! 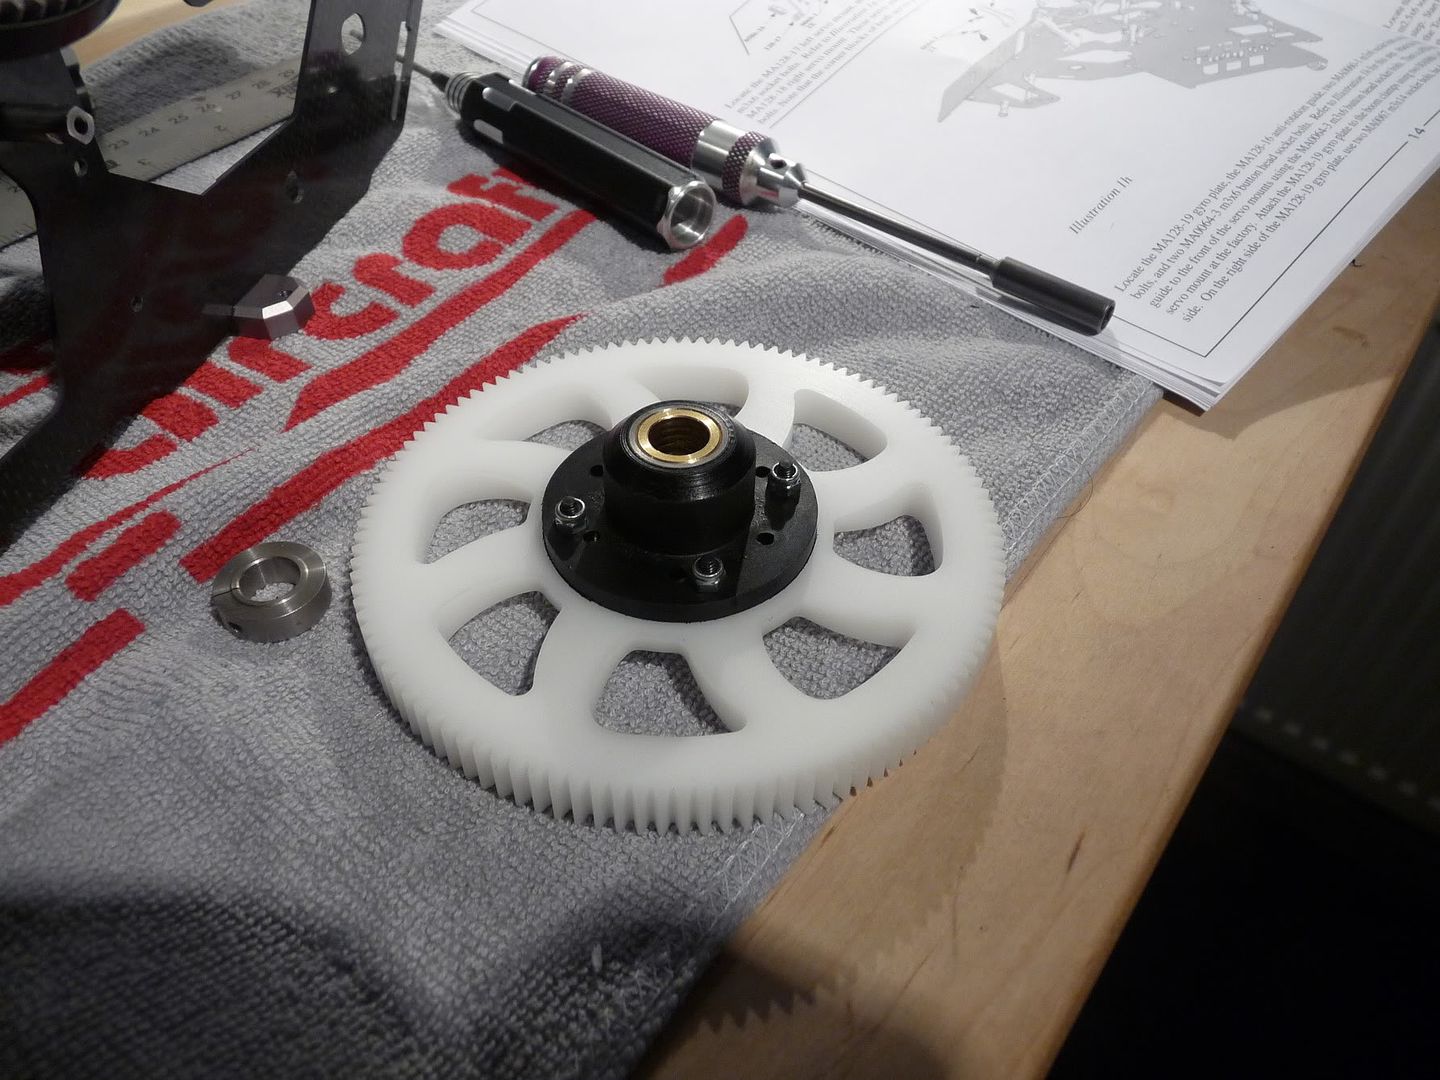 Now, Here's the interesting bit.. First on the assembley we have the locking pin.. Then we have like an inverted autohub compared to some other brands out there, and then we have the metal tail belt gear. The bottom of the tail gear features two grub screw's one is a dog point that sit's inside the shaft, another is one that pins it. Now what I like about this, Is that there's no slop or up and down play in the shaft. And there's no hassle of having to hold the shaft and locking ring up and screw in place as everything is a very nice tight fit.. There should be no slop development overtime.  |
|
|
|
|
01-11-2011, 07:45 PM
|
#19 (permalink) |
|
Thread Starter
Join Date: Sep 2008
|
Bag 1 is now completed So far, it's been a pleasureble build, Everything has gone together sweet as a nut. No modifications has been needed. The Quality has been maintained troughout.. and I'm really impressed with it.  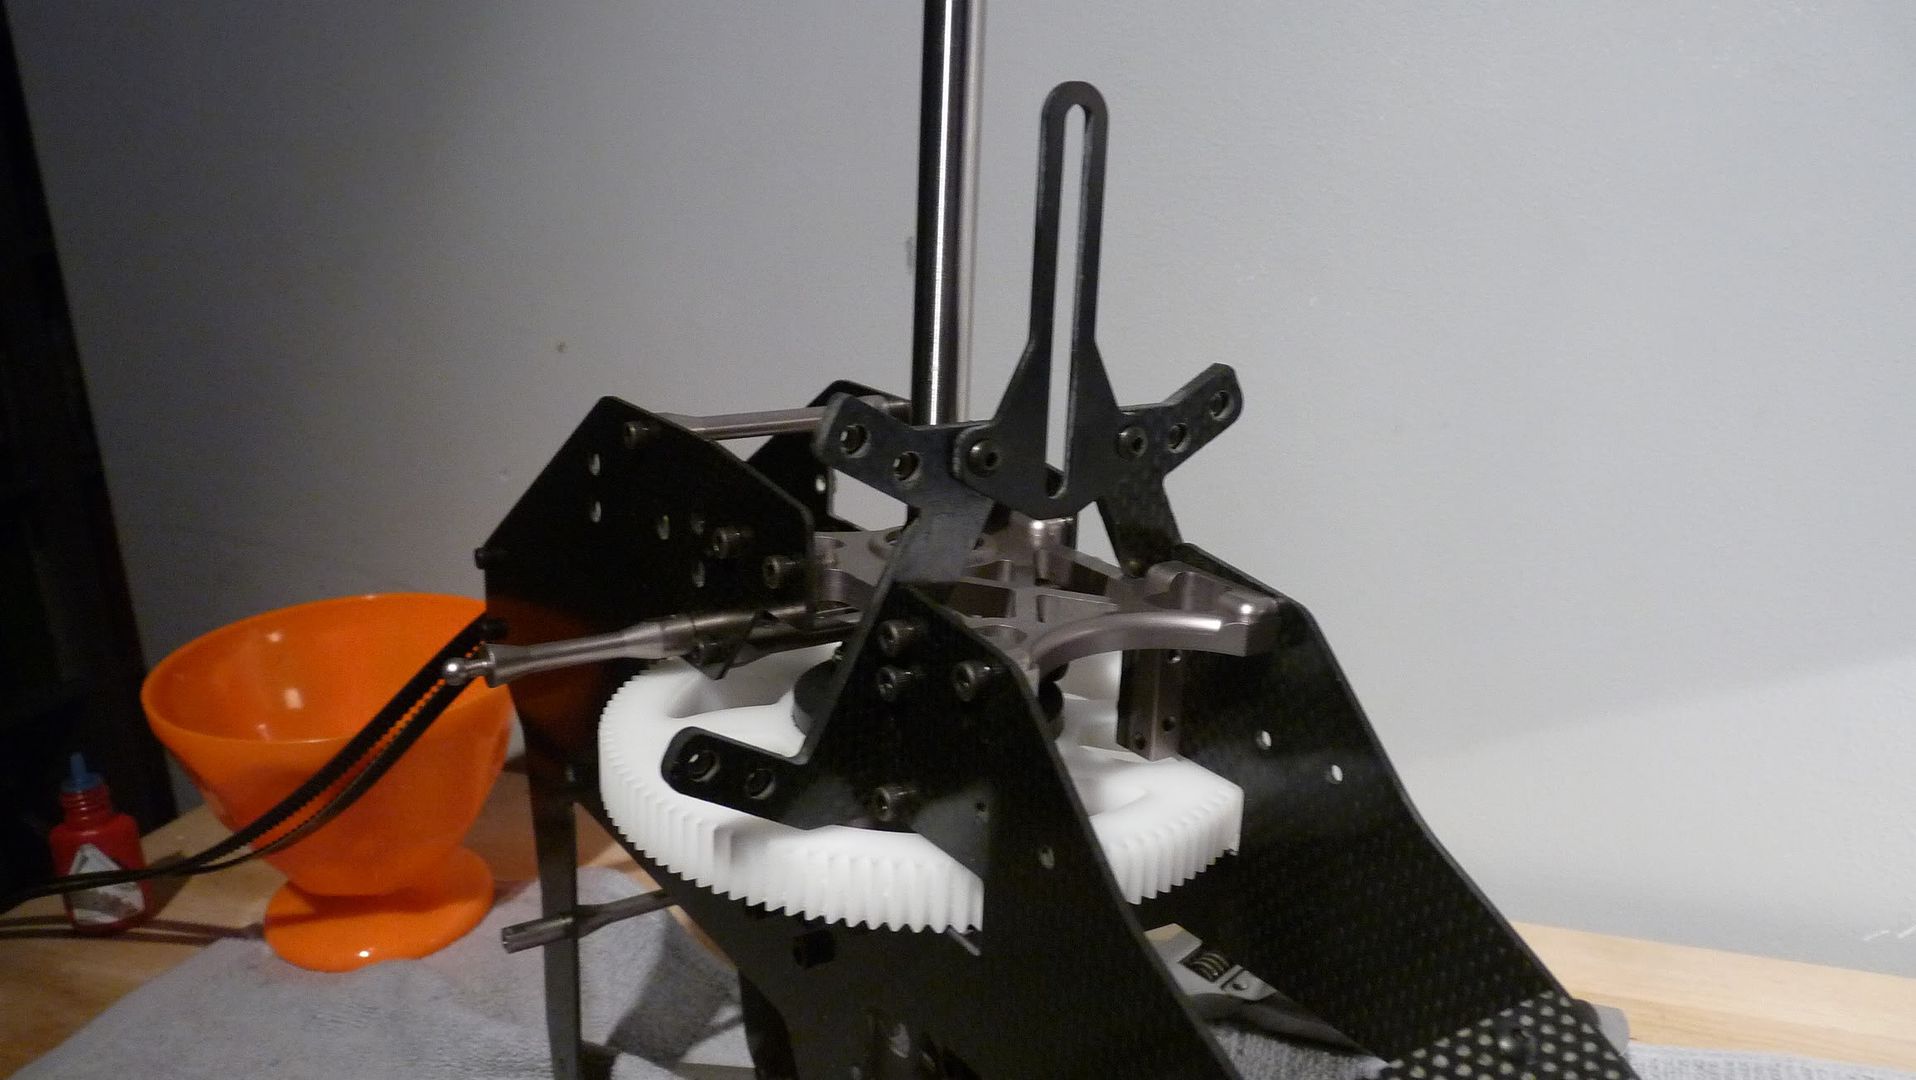 Roll on for Bag 2 / Stage 2 |
|
|
|
|
01-12-2011, 08:49 AM
|
#20 (permalink) |
|
Thread Starter
Join Date: Sep 2008
|
Moving onto Bag 2! This stage mainly covers the clutch stack and engine install, and mostly the engine side frame peice. Let's get cracking! First off it's the clutch stack assembley. 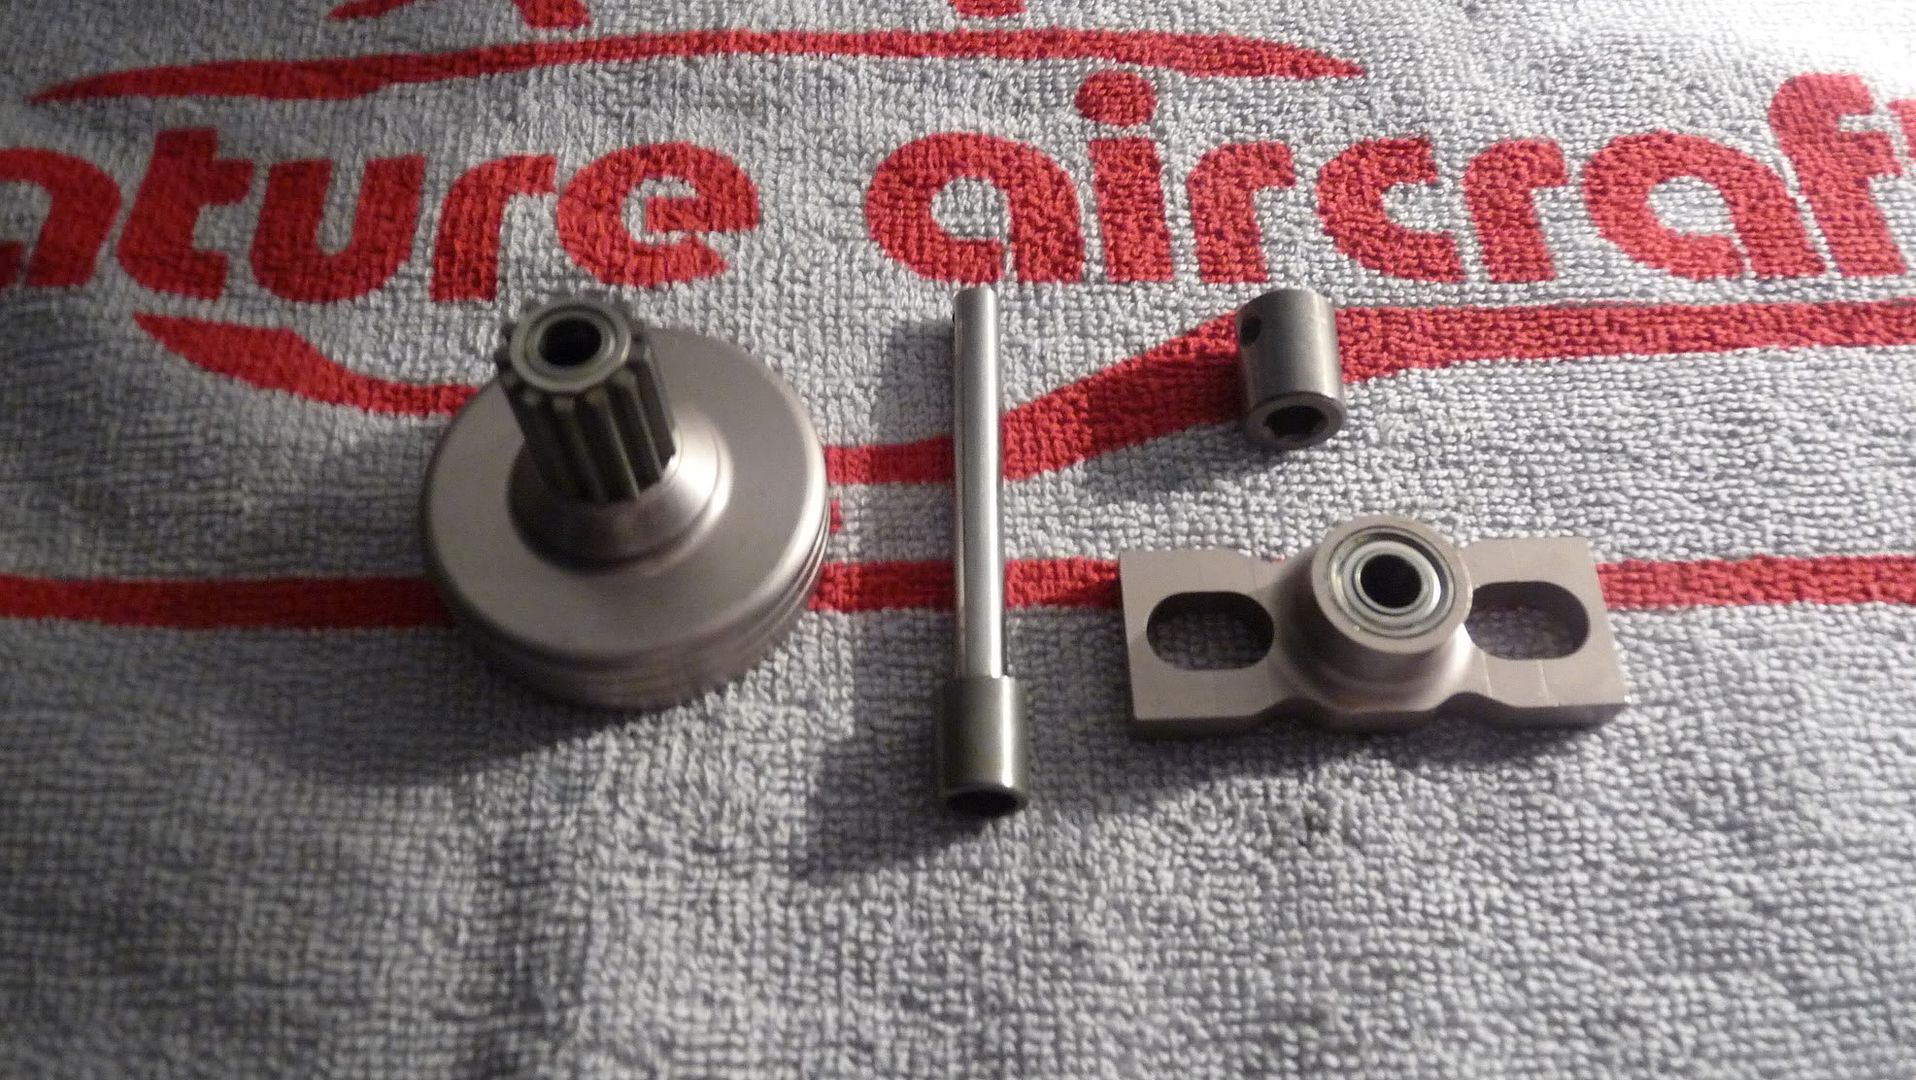 as you can see, It's all nicely finished and the quality is maintained troughout. Look at the clutch liner.. It's nice a beefy, and it's a good quality liner too as the liner is kind of fery, 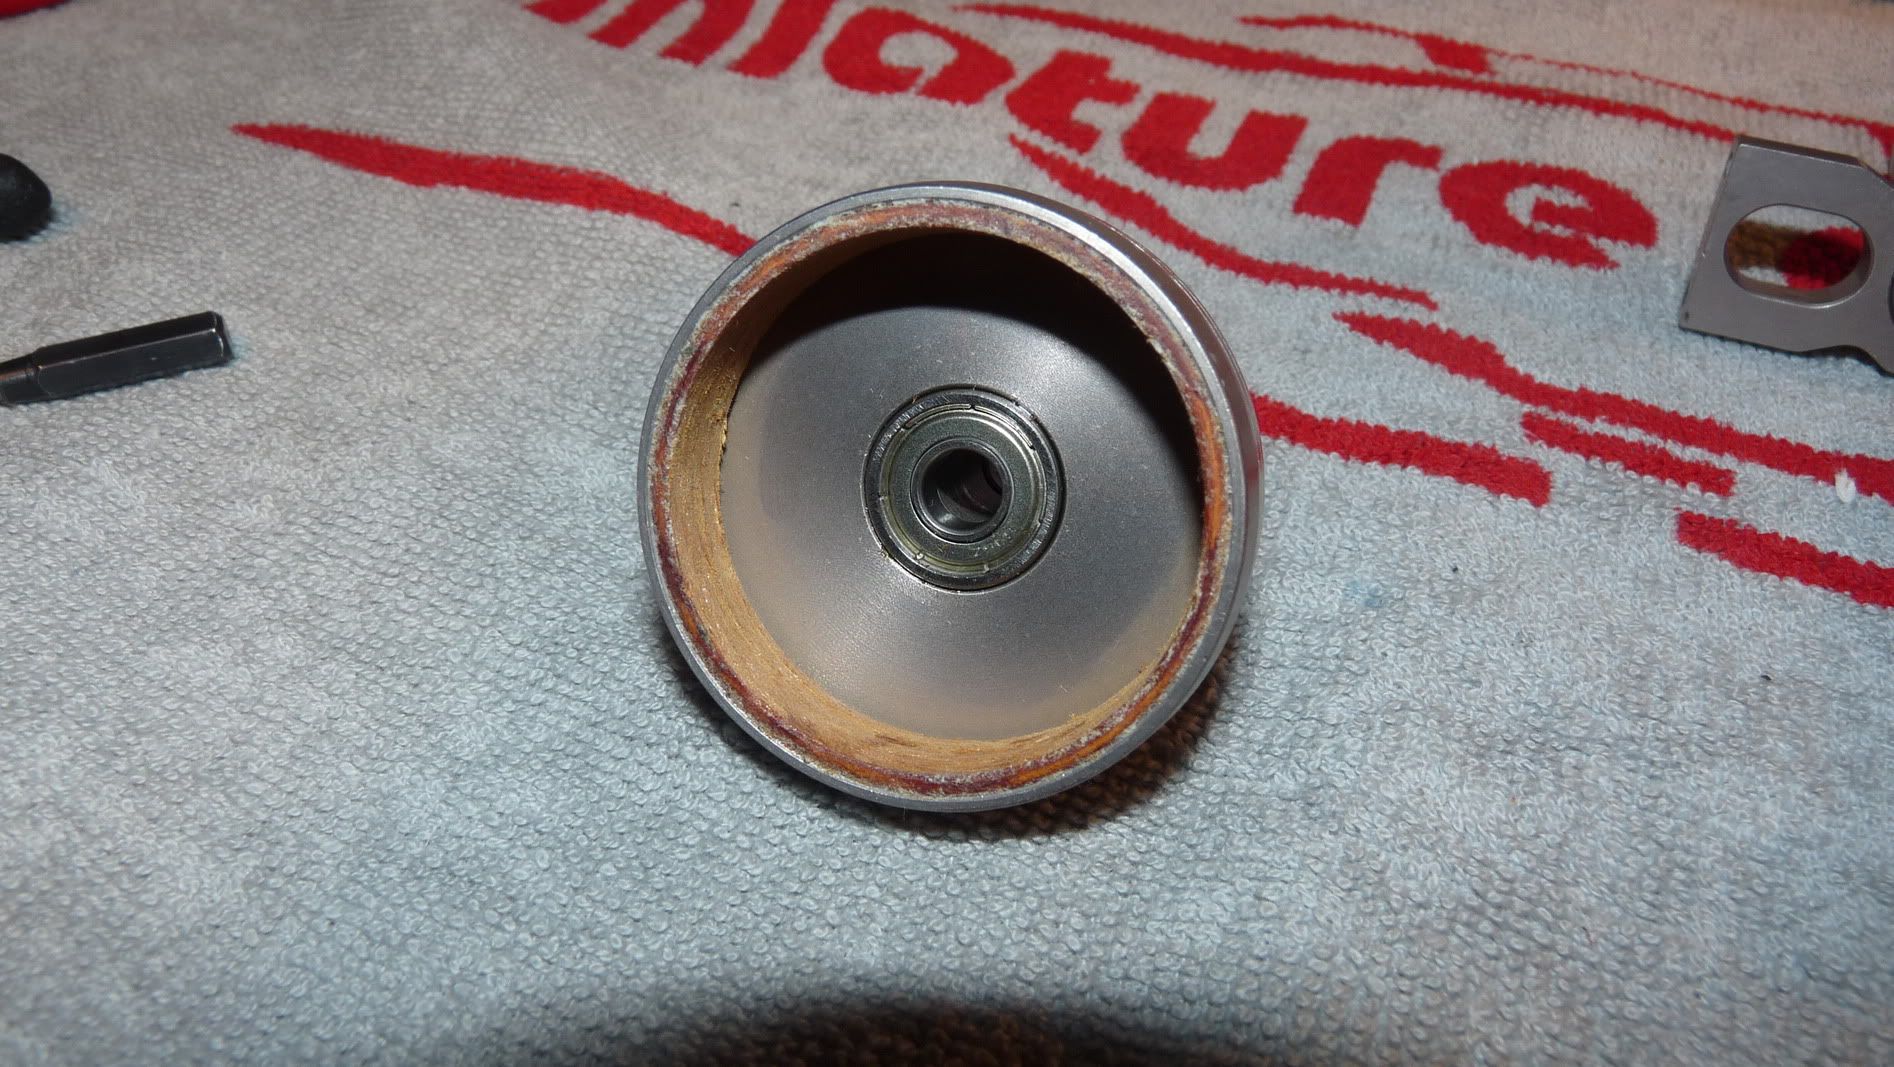 Let's get it together! Here you can see it nearly built, There's really nothing to it! Very easy to build the stack together 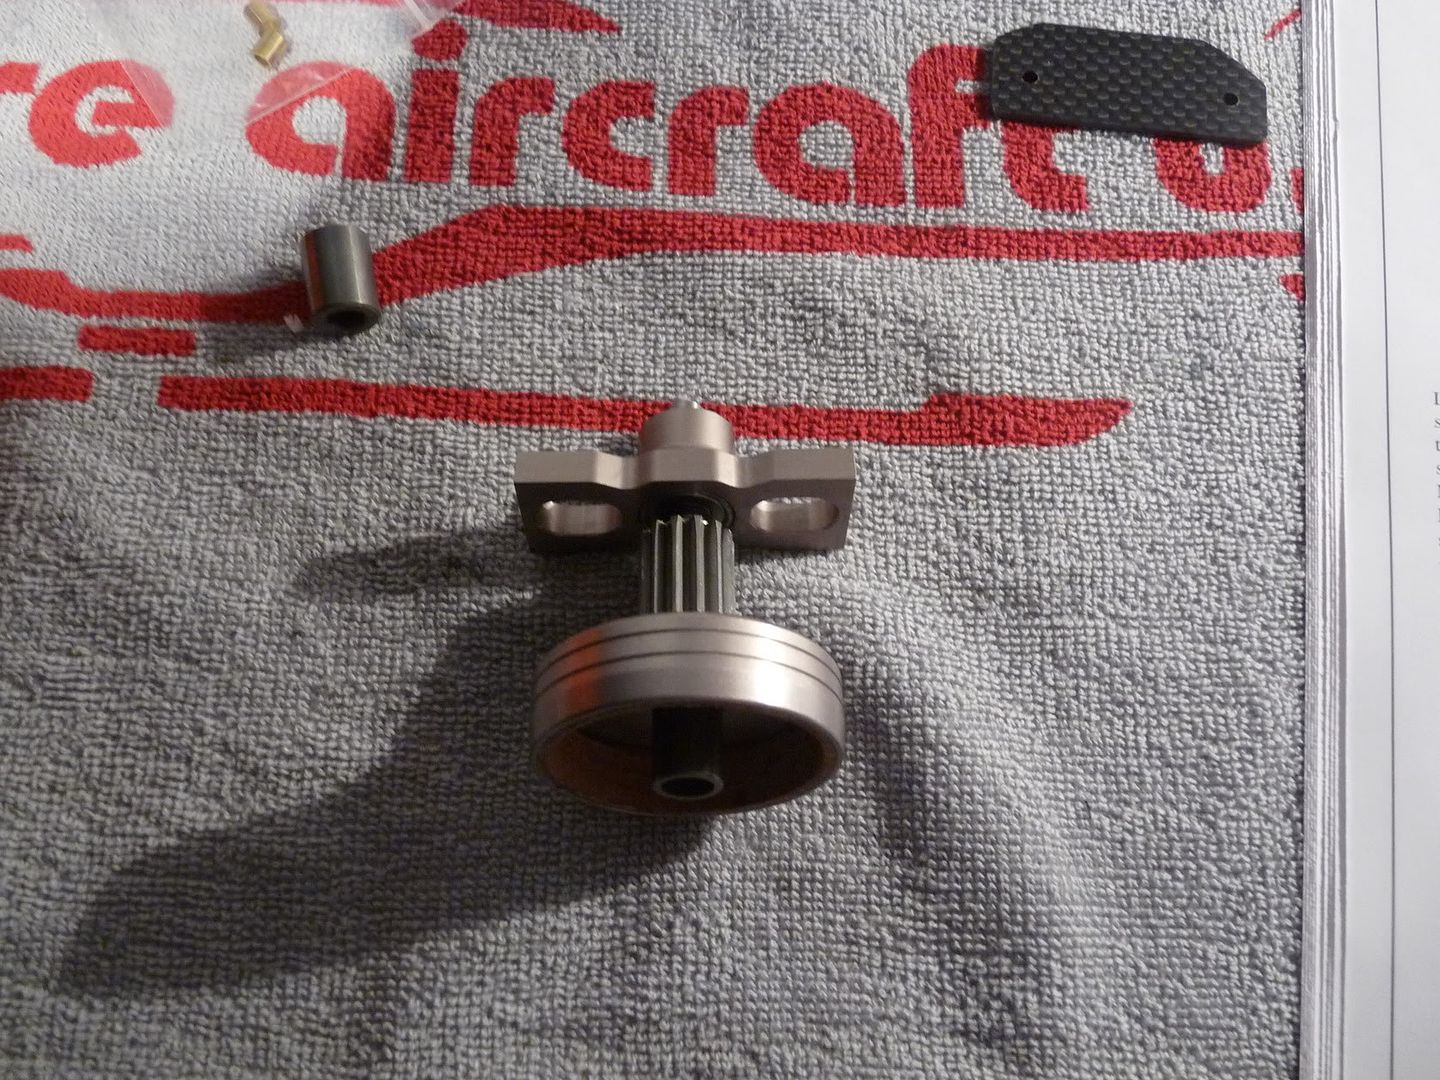 and here it is built: 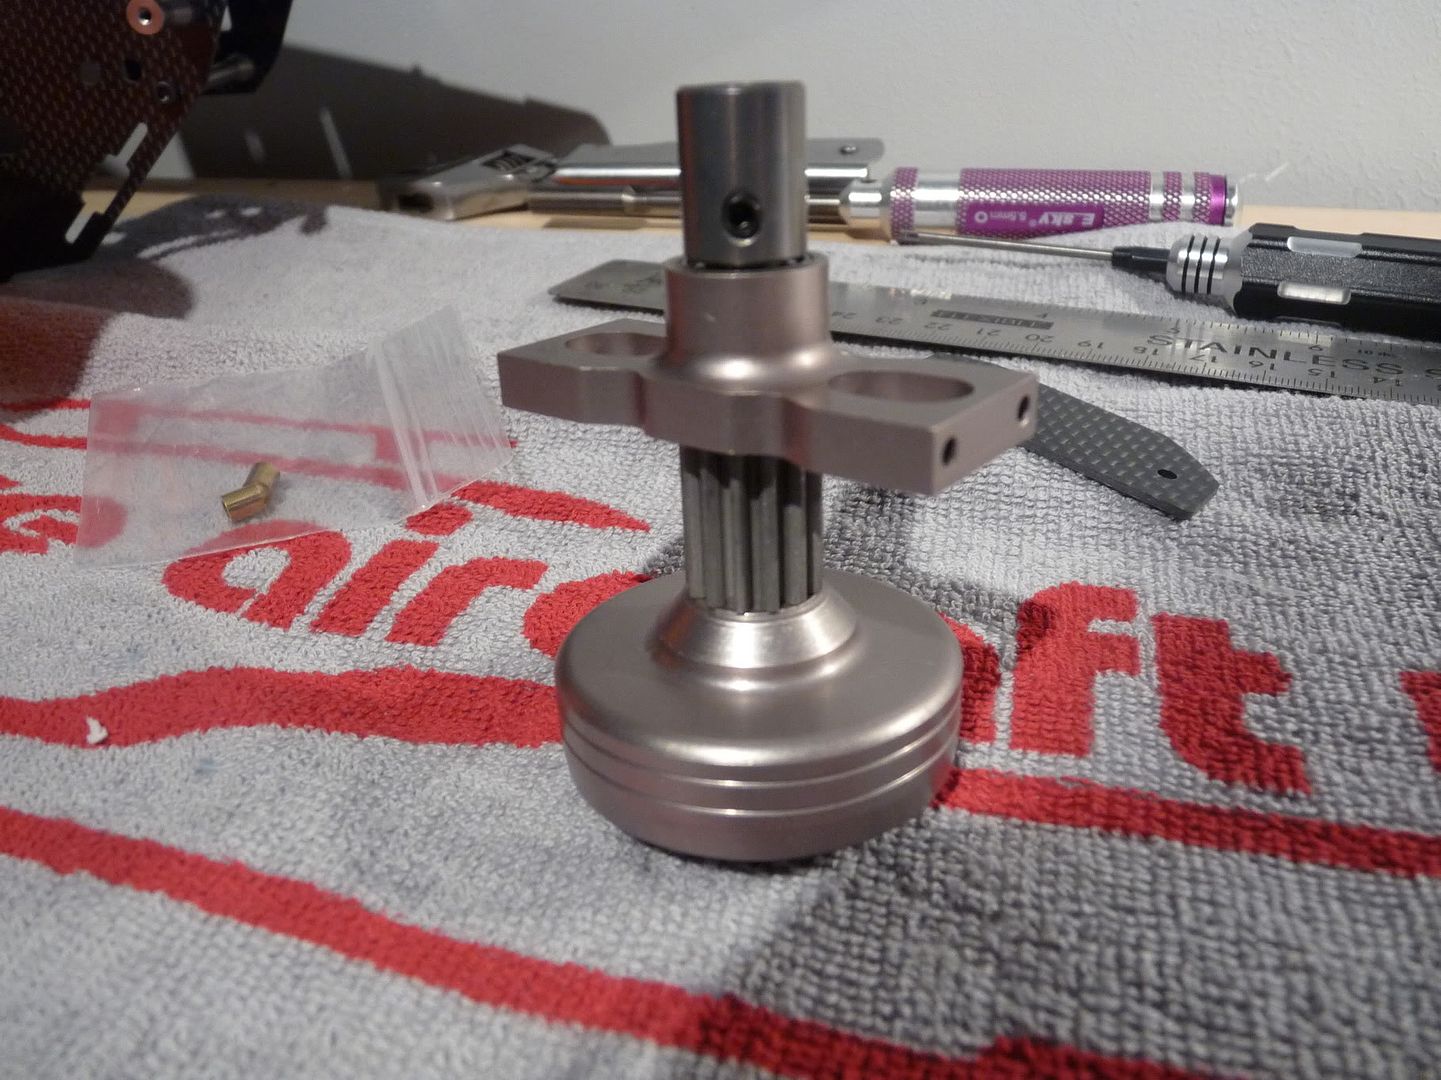 One thing I like about this, Is that you can build the clutch stack outside the frame, On some machines you have install the stack, then push the rod up the stack and secure with a grub, This can be quite tricky especially trying to get a slop free install. Time to install it! 4 Screw's later and it's installed: 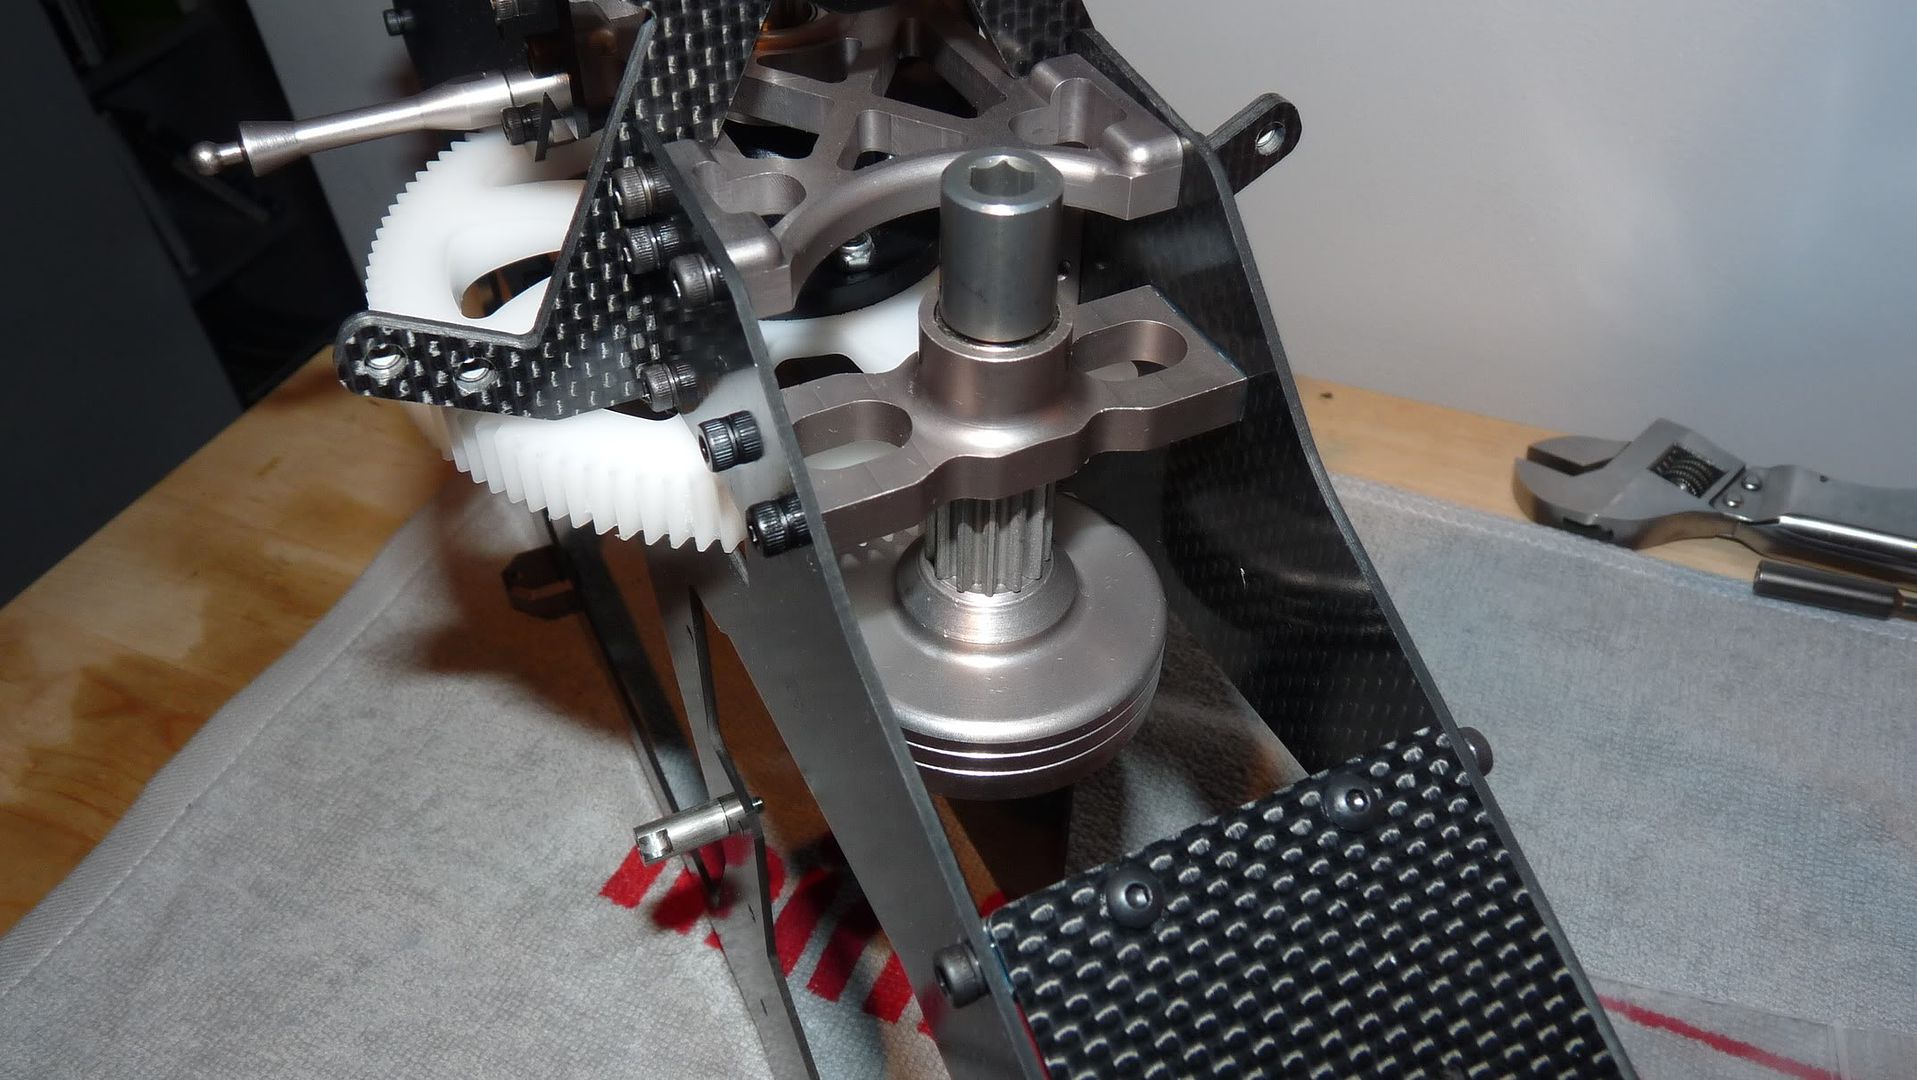 Next step is the Engine Clutch Fan install and Engine Mount system! |
|
|
|
|
|
|
«
Previous Thread
|
Next Thread
»
| Thread Tools | |
| Display Modes | |


 Linear Mode

|
|


